What Is the Meaning of Bo-hi (Groove) on Japanese Swords?
NO AI USED This Article has been written and edited by our team with no help of the AI
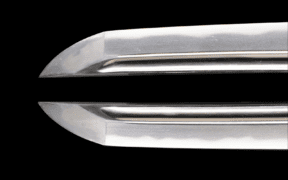
The bo-hi, or groove, is one of the most recognizable features on many Japanese blades, yet its purpose goes far beyond mere decoration.
Running parallel to the back of the blade, these narrow channels stretch gracefully across its surface, blending functionality with artistry.
Though not every blade includes this feature, its presence speaks to the thoughtful craftsmanship of Japanese swordsmiths.
From reducing weight for quicker handling to enhancing the blade’s striking appearance, the bo-hi serves as a perfect example of how practicality and beauty come together in traditional sword-making.
Practical Function of Hi in Japanese Blades

There are several types of grooves (hi), varying in width and shape. The type of groove depends on the preference of the swordsmith or the swordmaking school, making them crucial
Grooves on Japanese blades, often referred to as hi, serve a practical purpose by lightening the blade, making it easier to wield without compromising its structural rigidity.
Beyond functionality, grooves also create a distinct “whooshing” sound when the blade is swung, a feature appreciated by practitioners for its feedback and dramatic effect.
They also serve as decoration on a blade, though there is another type of purely decorative engraving called horimono.
Carving Hi (Grooves) on Japanese Blades

In the realm of Japanese swordmaking, the hi (grooves) can be incorporated into the blade after the swordsmith completes the final shaping of the sword during the kajitogi (rough polishing) process.
A swordsmith may consider whether he wants to incorporate either hi (grooves), decorative carvings (horimono), decorative bas-reliefs, or even a poem into the blade.
1. Marking and Carving the Grooves
A swordsmith determines the placement, appearance, and width of the grooves, though the actual carving is often done by a swordsmith’s apprentice. In sword blades, grooves are added above the ridge line (shinogi).
Before the grooves are cut, their location is carefully marked on the blade with ink, and the edge and point areas are covered with tape to protect them. Then, the groove is cut with a drawknife (sen) equipped with a U-shaped blade, shaving off the steel from the blade surface.
2. Finishing the Ends of the Grooves
Ideally, the grooves are inspected carefully while they are being worked to ensure that they are straight and uniform along their entire length. A chisel is used to finish the groove-ends, which must be clear and well-shaped.
Then, the rough groove is finished using a round file, followed by a series of grinding stones to obtain a smooth, even surface.
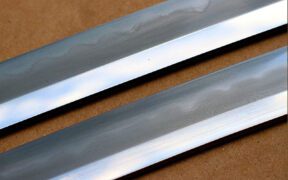
3. Burnishing the Groove to a Mirror Surface
During the polishing process, the insides of the groove are burnished by rubbing them with a steel needle until they become bright and reflective. Generally, the process of carving a set of grooves in a long sword, such as a tachi or katana, can take up to two to four days.
In some cases, grooves (hi) are carved into a blade after the shortening process to restore its balance or even conceal a flaw in a Japanese blade.
Such grooves added later by others instead of the original swordsmith are often referred to as an ato-hi (後樋) or ato-bi (後樋).
The Anatomy of Hi (Grooves) and Related Terminology
Hi (樋)
The term hi in Japanese refers to the grooves cut into a blade, be it a dagger, sword, spearhead, or polearm. On Japanese swords, these grooves are typically located above the ridge lines (shinogi) on both sides of the blade.
Hisaki (樋先)
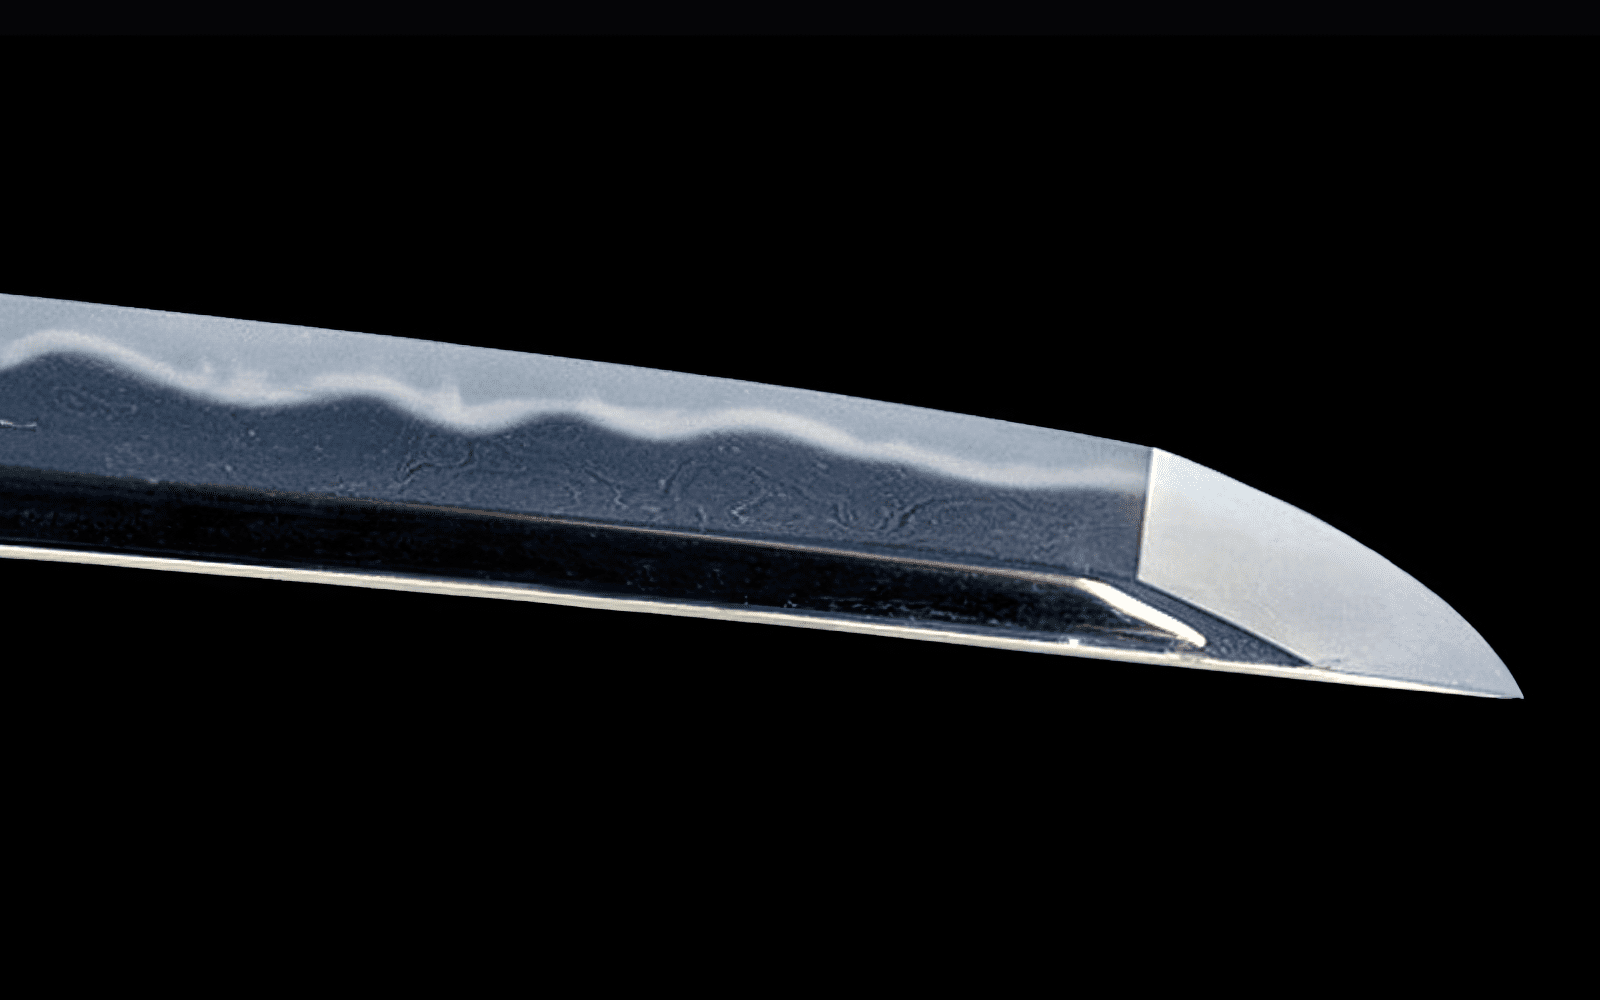
The hisaki refers to the tip of a groove toward the point of the blade (kissaki). It may stop near the ridge line (ko-shinogi) in the point area or below the yokote, which is the perpendicular line to the cutting edge.

Chiri (散 or チリ)
The term chiri literally means the wall of the groove. A groove can be carved directly along the ridge line or set slightly off, with the remaining surface referred to as the chiri. However, some blades lack any chiri at all.

Tome (留め)
The term tome refers to the bottom end of the groove towards the blade collar (habaki) or tang (nakago).
Note that the term tome may also apply to the end of the kaeri, which is the part of the hamon at the point area. In some cases, the term is used to refer to the end knot of a tsukamaki.