How is a Katana Made? A 12-Step Process Explained for All
The art of making the Japanese katana is a revered and intricate process. Generally, twelve steps bring the katana from the swordsmith to the hands of its new owner.
This article will detail how the katana is made, from collecting iron dust to the birth of high-quality metal. We explain how this blank steel is mended into the unique katana using several fascinating methods and touch on the fittings added to complete this work of art.
Step 1: Materials and Preparation

The first step in creating a traditional Japanese katana is the selection of high-quality materials. Pure electrolytic iron, oxygen-free iron, and tamahagane steel are used.
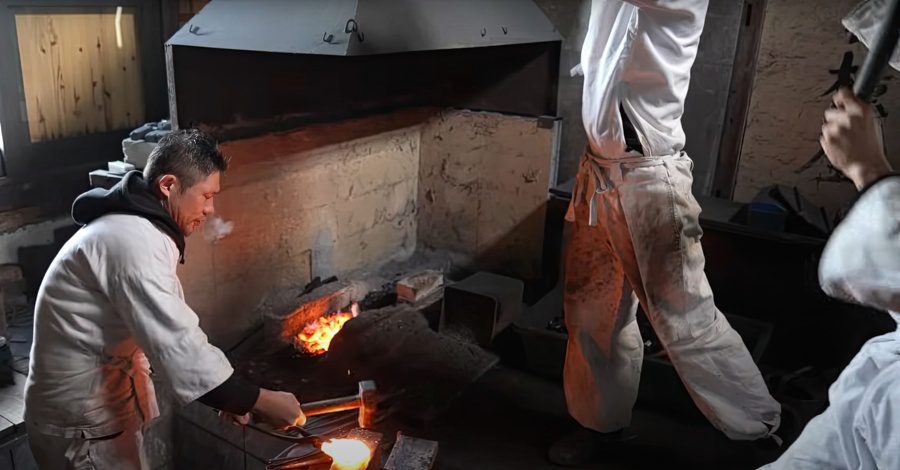
Tamahagane steel, the most historically accurate, is a form of steel created by iron dust collected from inside the Japanese Archipelago. This steel is made in a furnace with charcoal over three days, reaching temperatures of up to 1500 degrees. With this preparation process, the steel is refined, and all impurities are removed.
Tamahagane is the primary choice for crafting traditional, authentic katanas in Japan. Many companies outside of Japan produce close-quality replicas using other types of steel such as stainless steel, carbon steel, and more.
Step 2: Forming the Bar
The steel is flattened, hardened, broken into pieces, and sorted by quality and carbon content. Blade refining is used to adjust the carbon by allowing volumetric airflow through the furnace and lowering the carbon in carbon dioxide.
The forging process of tamahagane steel begins by breaking it into one-quarter-inch pieces to create the inner and outer layers of steel. A handle is made to hold a long steel plate with stacked tamahagane plates covered with clay and ash to form a 3 x 5 block and is then heated to 1300 degrees while rolled in rice paper. It is then removed and hammered into a single bar.
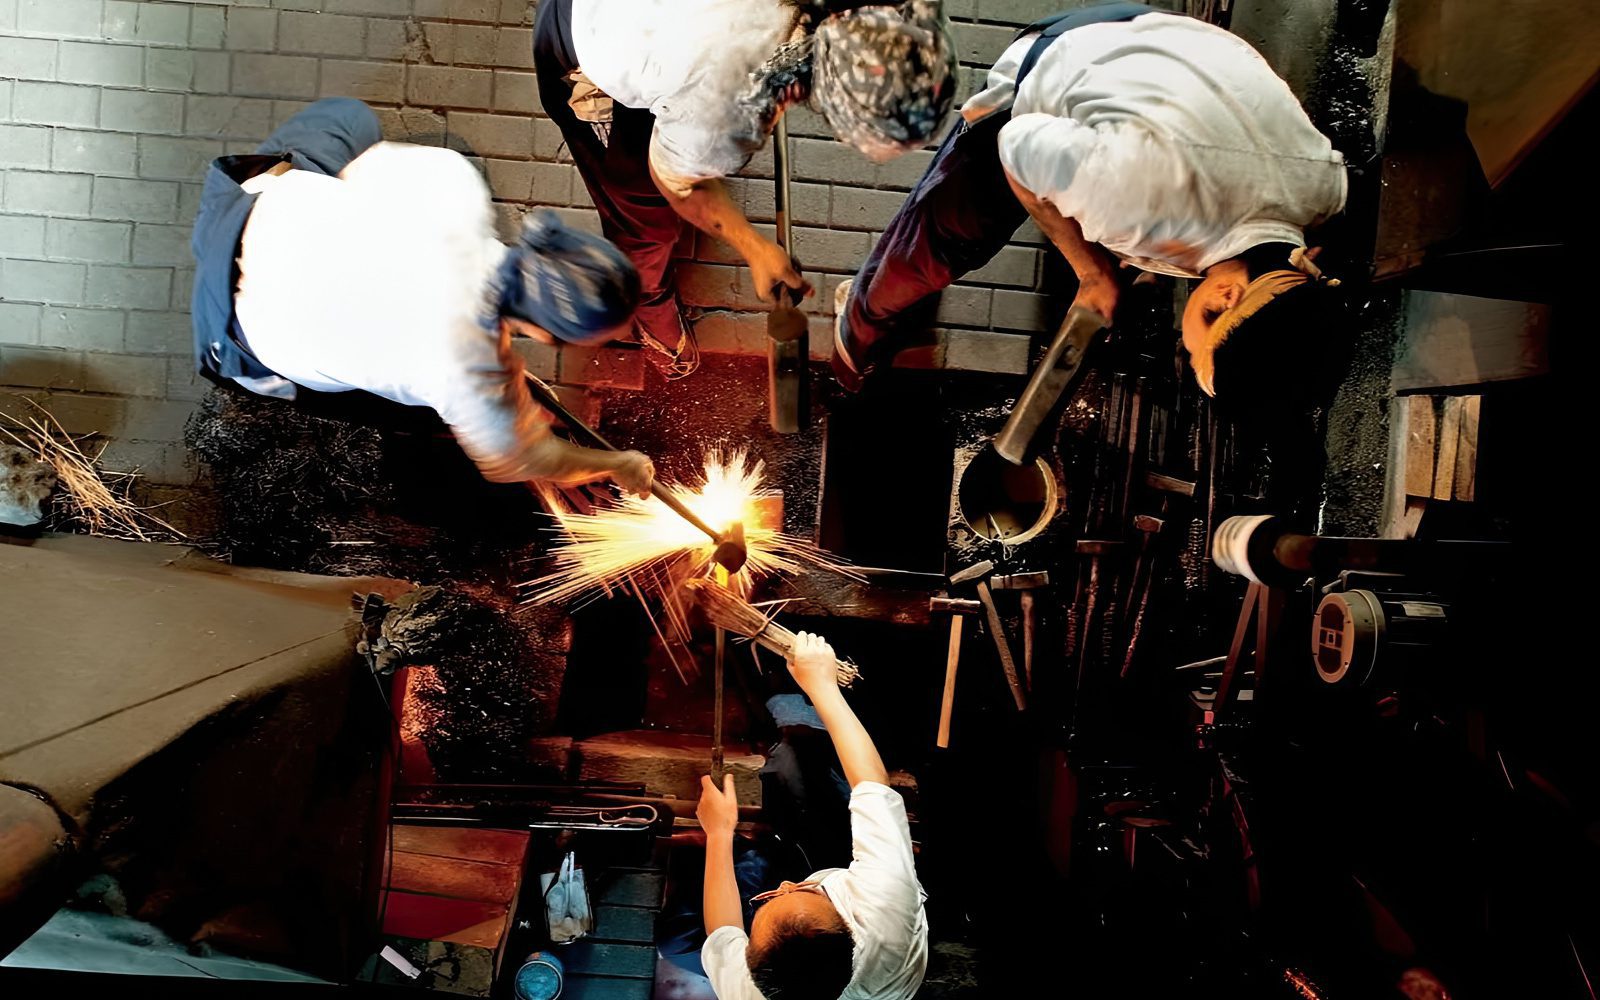
Step 3: Making the Outer Layer
The steel is heated, struck with a chisel, and divided into two halves. One half is hammered at the end of the anvil to a 90-degree angle and folded upon the other half. These two halves are then fused and drawn out again into twice the length of the original bar. This process is repeated several times.
While heating, the bar is removed multiple times while rolled in rice straw with clay slurry to prevent the removal of carbon from the metal. To allow homogenous distribution of carbon, the elongated bar is cut into four pieces, stacked upon each other, returned inside the forge, and fused again in a single bar.
The final step is to uniformly distribute the carbon throughout the blade, forming the surface pattern of the blade.
Step 4: Forging the Soft Core Steel
The softcore steel inside a katana’s blade allows it to be flexible for cutting. This process is similar to making the outer layer with a lower carbon content. Additional folding is needed due to the higher number of impurities in the metal. These impurities must be removed for the outer and inner layers to fuse properly, ensuring no blemishes appear on the blade’s surface.
Step 5: Forming the Steel Stock

The inner and outer layers are fused through a process known as tsukurikomi. The plate previously created is bent in a U-shape and pounded while the inner layer is inserted inside its base. These two semi-joined metals are reinserted inside the forge at 1300 degrees, removed, and hammered again until the outer layer completely enshrouds the inner.
A second method to make the steel jacket includes two to four pieces of hard, high-carbon steel surrounding the inner core, with a harder steel part at the edge. While challenging, both methods are crucial in the creation of a katana.
Step 6: Making the Blank
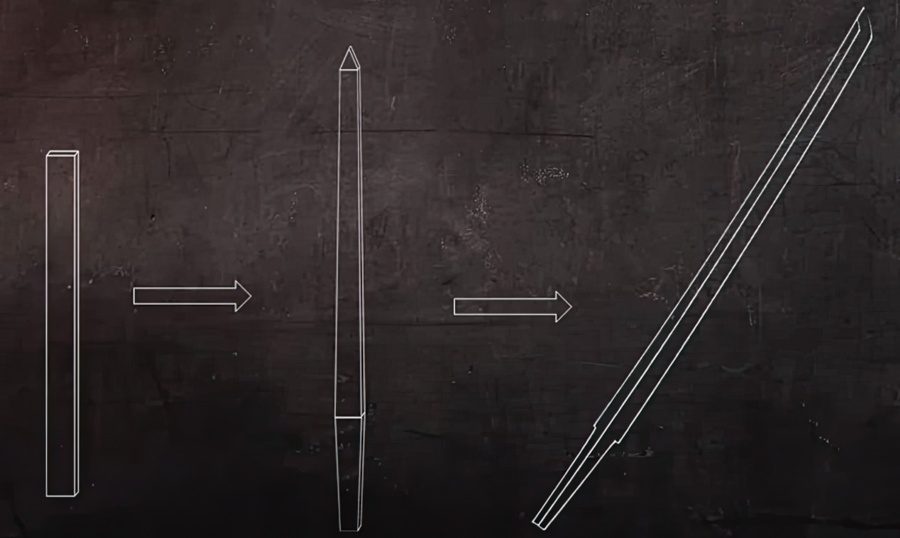
The sunobe (blade blank) is created when blank steel is drawn out by a series of heating and hammering that will give the blade its final shape.
The blade tang is also created using a hammer to uniform the blank blade in thickness from the front of the blade and tang to the tip.
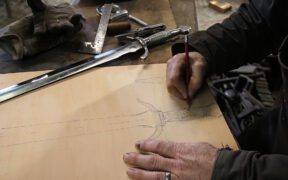
Step 7: Shaping the Blank into a Blade
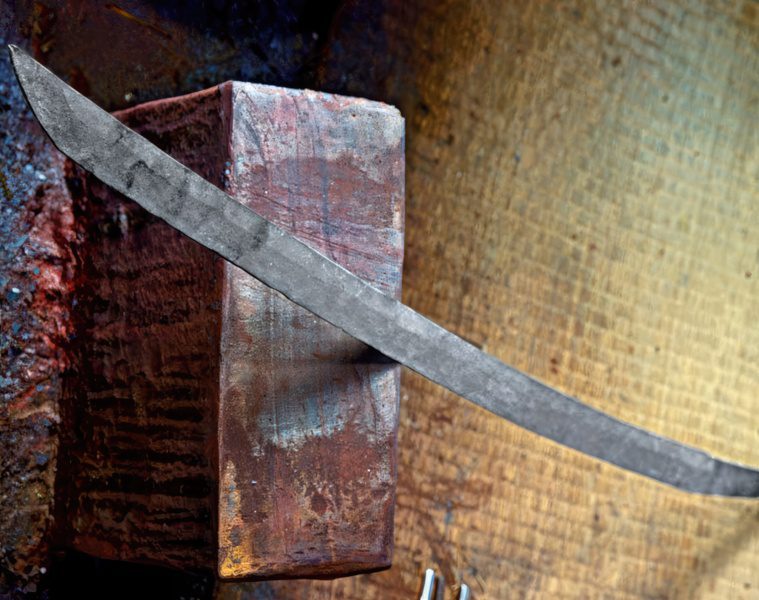
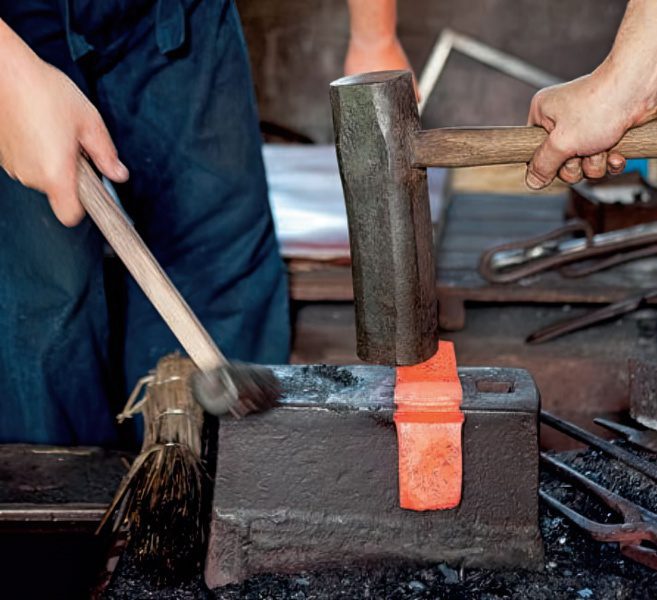
The blade shaping process gives the blade its final shape of a true katana sword. The blank blade is hammered at between 700 and 1100 degrees throughout most of it.
This delicate process is done with a small hammer and a sledgehammer. The curvature in this process is often adjusted correctly.
Step 8: Grinding and Filing
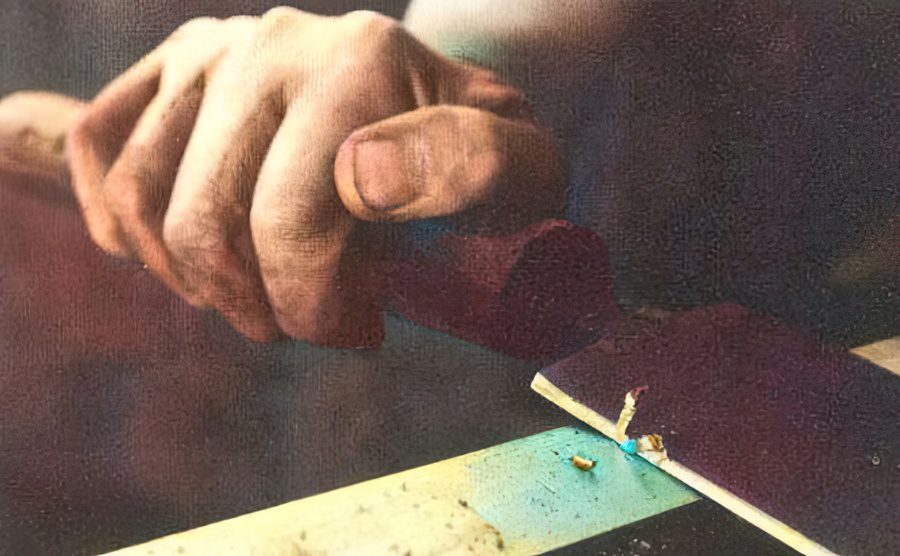
The lengthy process of grinding the blade shape evens any irregularities that may have formed using a rough stone over the entire thing. With the exception of the edge, the katana will now have a well-defined surface.
Step 9: Applying Clay

After the blade profile has been created, an insulating layer consisting of riverbed clay, charcoal, and pulverized sandstone is added to the blade’s body, except for the edge.
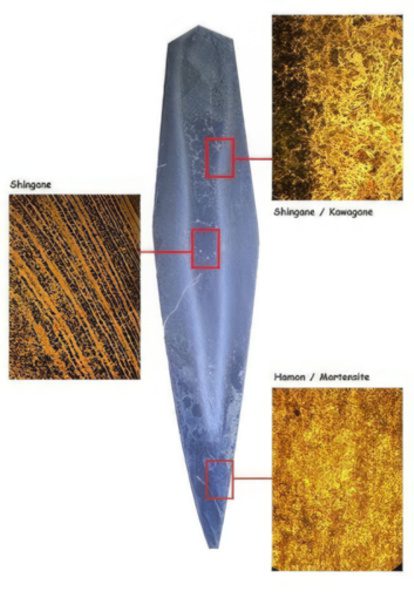
The blade is heated to 750 to 850 degrees and then rapidly cooled in a cold water tank. The pattern that appears on the blade is called the hamon and can have many different shapes.
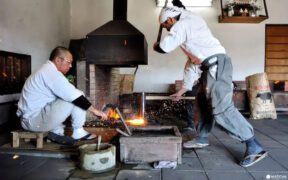
Step 10: Heat Treatment and Curvature
The blade is heated throughout its length, with the edge pointing inside the forge. It rotates until the edge is harder and hotter than the spine before being plunged into a cold water tank.
After the blade has been cooled, the final heat treatment begins. The blade is placed inside the slightly colder forge and quenched again to relieve the initial stress of the previous process. With the hamon now visible, the dry clay can be completely removed.
The hamon can be achieved without clay-coating in an ancient process called hadada–yaki. The factors are the carbon level in the steel, preparation of the steel’s surface, and the specific heating temperature prior to quenching. The heated blade is inserted in cold water, and the bubbles that form produce the hamon pattern lines.
Step 11: Curve Adjusting
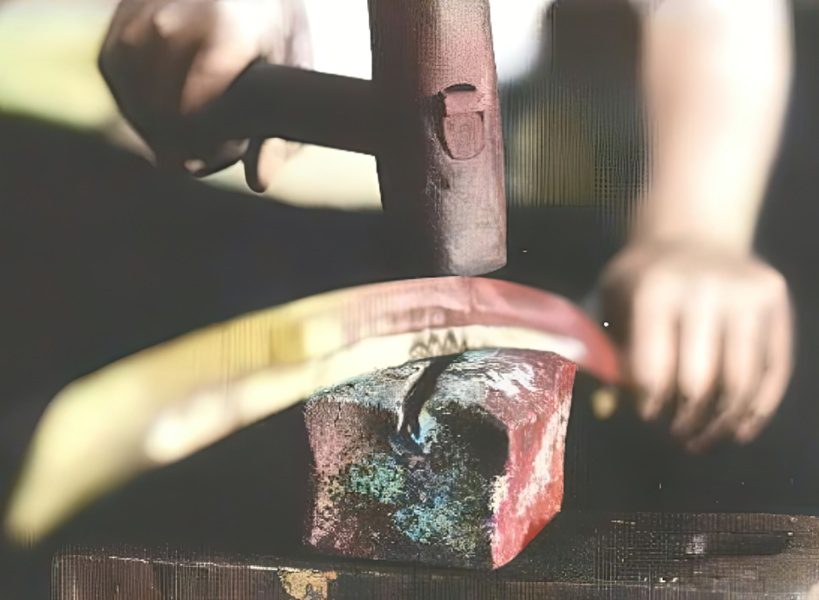
Curve adjustment begins with placing the blade on a hot copper block and hammering out any irregularities. A gas torch can also be used for further readjustment, and the blade is quenched until it reaches the ideal curve.
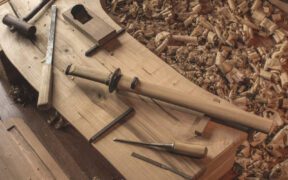
Step 12: Final Touches and Fittings
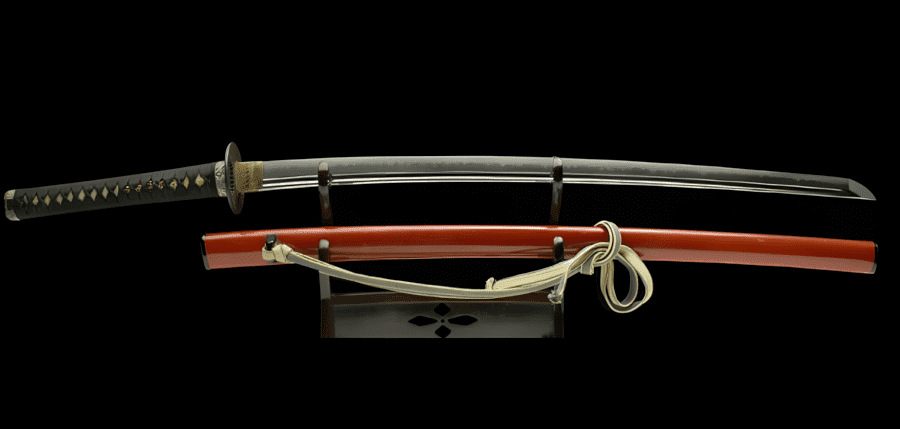
The katana blade now needs final polishing and sharpening. Depending on the type of katana, grooves or fullers can be added for aesthetic purposes or to lighten the weight. Carvings can also be created, and the weapon is inspected by the blacksmith.
The blade passes through the hands of many skilled artisans, including a qualified Japanese polisher who will sharpen and reveal the fine details of the blade. A metalsmith will then mount it with a blade collar and handguard made of iron, brass, copper, or precious materials.
It is then delivered to woodworkers, who create a scabbard that perfectly fits the blade. All of these katana parts are given to artisans who decorate the fittings and mountings with exotic stones, gold, authentic inscriptions, or carvings on the fittings.