Sword Making: Understand the Process behind Its Art and Science
Sword making is a difficult and time consuming skill to learn, requiring years of dedicated hard work and experience. Considered pieces of art, there are many different techniques that can be used to create a sword and understanding the methods will make any sword enthusiast appreciate their blade collection even more. In this article, we discover the sword-making process and delve into the science, beauty, and art behind it.
History of Sword Making (~3000 BCE – 2023 CE)

The creation of stone tools in the Stone Age played a vital role in sword making which began around 4,000 to 5,000 years ago in the Bronze Age. The first “real” swords, as deemed by Edward Oakeshott, appeared in the 16th century BCE, crafted from molten bronze poured into clay molds. By the 12th century BCE, rare iron swords emerged and became more common over five centuries, eventually replacing bronze swords due to advancements in high-temperature bloomeries and forging techniques.
Eventually, swordsmiths discovered the benefits of incorporating charcoal or carbon in the forging process, yielding blades that had harder edges that would stay sharp but retained a flexible core. This led to the use of steel in the Middle Ages, producing the most robust swords to date. Consequently, numerous legends about blacksmiths and heroic swordsmen arose.
Bladesmithing continued to evolve, culminating in the creation of high carbon steel swords. However, warfare in the 17th century reduced the need for melee swords due to the rise of long-range weapons. Traditional forging methods that led to the production of Damascus swords and WootzSteel were gradually forgotten with time.
As swords transitioned from the battlefield to ceremonial roles, industrialization prompted mass blade production. Nowadays, modern sword-making continues to improve, leading to what many argue are the strongest swords in history.
Types of Modern Sword Making
The way of creating a sword in modern times can be divided into two different categories – hand forged and mass produced by the factory. They are both viable options for a beginner sword enthusiast as all the components that make a sword are present.
Hand Forged
A hand-forged sword is self-explanatory. It means that the swordsmith manually forges the sword using traditional sword-making methods to shape and create a functional blade using tools such as a hammer and anvil. This labor-intensive process requires high levels of craftsmanship, resulting in a more expensive price tag.
Some of these blades can be custom-made depending on the style and order of the swords requested. Hand-forged blades are usually unique and in most cases are superior in terms of quality. They can be differentially hardened, used folding techniques and traditional steels such as Tamahagane and so on.
Factory Mass Produced
The mass-produced swords are typically manufactured and created using modern industrial processes such as laser or waterjet cutting as well as Computer Numerical Control (CNC) milling. Although this produces many swords in a shorter timespan, mass produced blades lack a personal touch and may even be inferior in terms of quality.
Despite its cheaper price, most of these swords lack functional and cutting attributes. However, there are some stainless steel blades that are good swords and serve as durable decoration pieces.
Sword Making Process

Sword making is a complex process that requires skill, patience, and a deep understanding of metal properties for the blade and sword fittings. Depending on the quality and type of sword, the time required to create a sword ranges from a few days to a few years.
Here are the basic steps required to create a modern sword.
1. Acquire Blacksmithing Tools

The blacksmith requires specific tools for sword making. These tools differ for each artisan, but the most crucial tools are a hammer, anvil, tongs, chisels, vise, sandpaper, a type of grinder, quenching oil, cutting torch, metal container or water slack tub, and a forge that can be heated up to high temperatures.
Other instruments that may be helpful include a magnet, belt sander, drifts, punches, drill press, air or power hammer, induction heater, saw, wire wheel, etc. Last but not least, one will also need a work area.
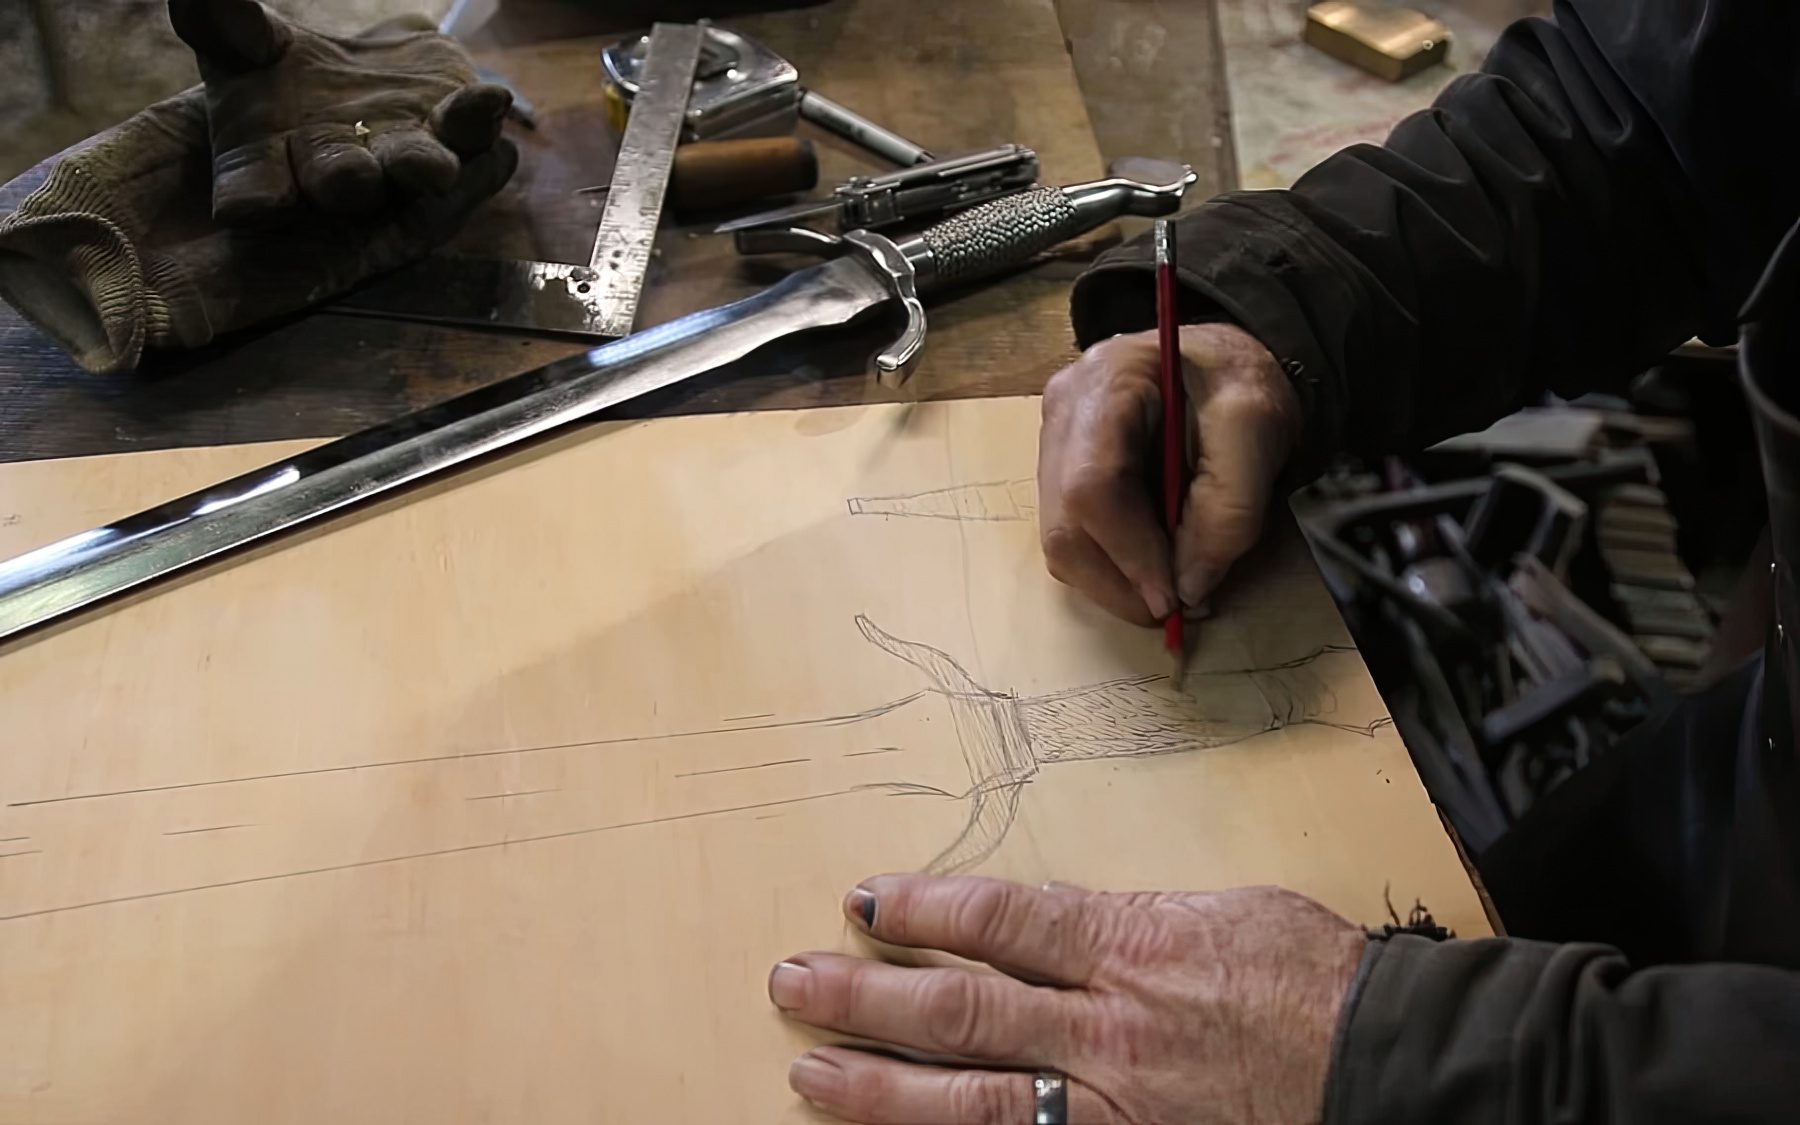
2. Gathering Information, Designing, and Planning
Acquiring the proper information about a type of sword and its design characteristics is crucial. Observe the blade form, edge, pattern, fuller, and hilt style. This can be as simple as studying a detailed sword encyclopedia written by experts.
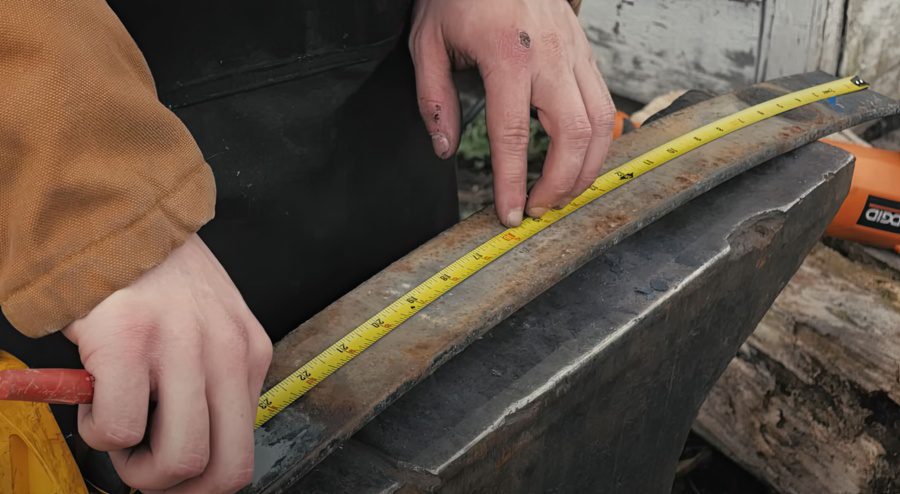
Look at historical blades and plan out a design for the sword. The plan should include a sketch of the design, dimensions, and materials used for each part. Start with a simple sword before moving on to a more complex design.
3. Determine Type of Steel & Function
Decide on the type of steel to use for the sword. The two main types of steel for swords are carbon and stainless. Carbon is seen as the best metal to forge a sword with as it can be split into tool and spring steel. It is best for functional swords that can hold a sharp edge. Comparatively, stainless steel is perfect for a decoration piece as it is highly resistant to corrosion and rust.
The blacksmith must study the type of steel to find out its carbon content and features as different types of steel require higher or lower temperatures when crafting. It may also require a folding process based on the needs of the client. The type of steel and its forging process will determine the sword’s function, be it for decoration, cutting tests, or HEMA sparring.
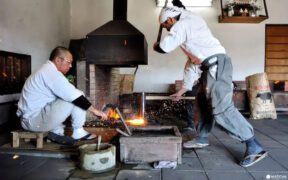
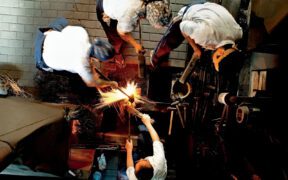
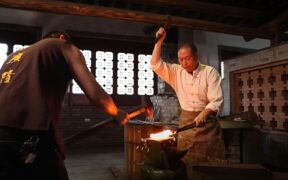
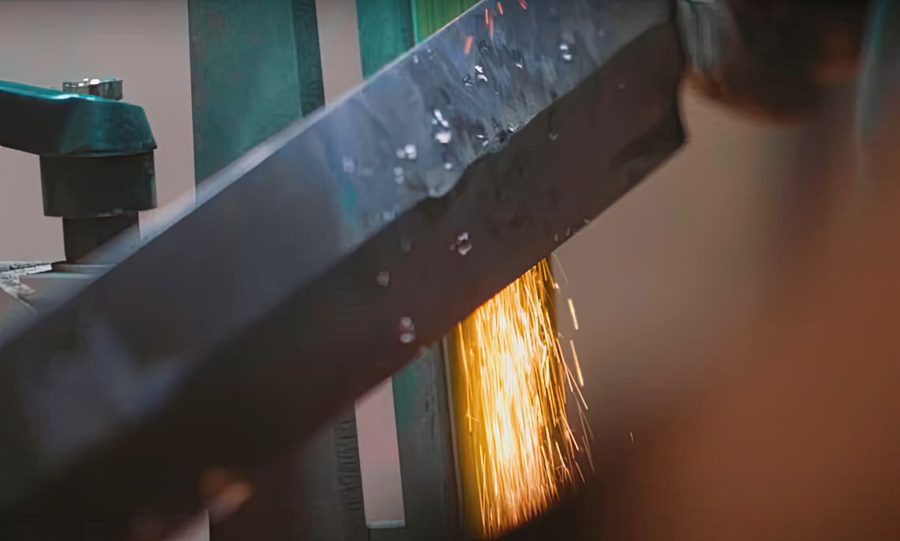
4. Forging – Heating, Shaping, Hammering
The three steps of the forging process can be explained simply as: heating the blade continuously, shaping it to the desired design, and repeated hammering. The equipment necessary consists of the forge, hammer, anvil, and tongs. Once the blade turns orange in color, it means that it’s hot enough (roughly 1900°F or around 1000°C) to be malleable.
The forging process is where the blade actually takes the shape of the blade, whether it is single or double-edged, tapering, or slightly curved. Forging swords is not easy and requires knowledge of metalworking. Inexperienced blacksmiths often start out with very rough-shaped blades because with each hammer stroke, the blade will incline and change its shape.
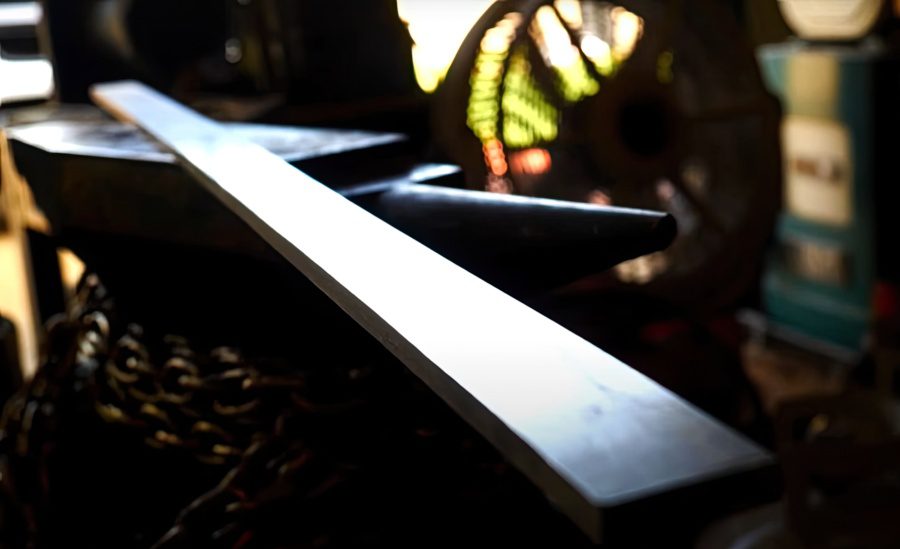
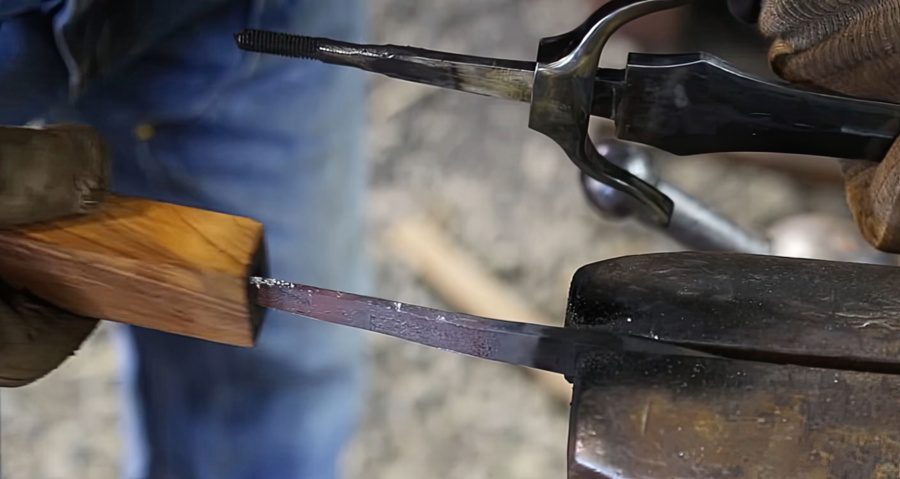
5. Beveling & Grinding
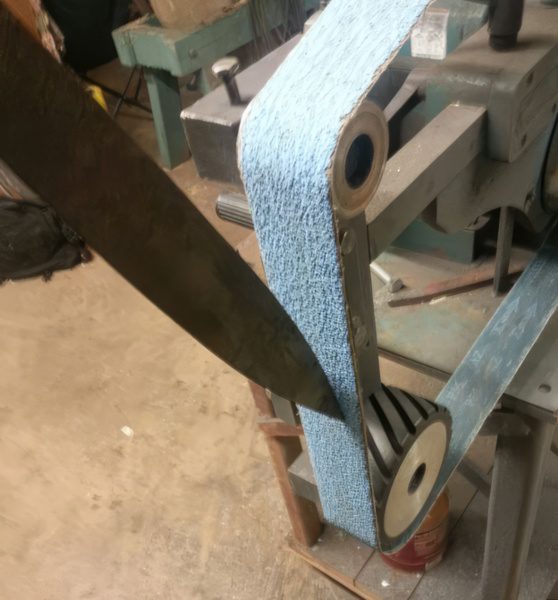
After the steel billet has acquired its desired shape, the beveling and grinding begins so that the blade can hold a cutting edge. This is a practice that requires a very steady hand and a lot of patience. The areas that need to be beveled are usually premarked to ensure that the blade will be proportional and parallel on both sides. The blade profiling then starts with an angle grinder.
The blade is basically grinded or held to remove any hammer marks and impurities as well as giving the sword a bevel extending all the way from the tang to the tip. The tang is also polished in this way so that there are no rough edges.
There are many different cross sections for the blade, be it with or without a fuller, diamond-shaped, lenticular, hexagonal, etc. The blade is also sharpened at this stage after the desired shape has been decided.
6. Heat Treatment
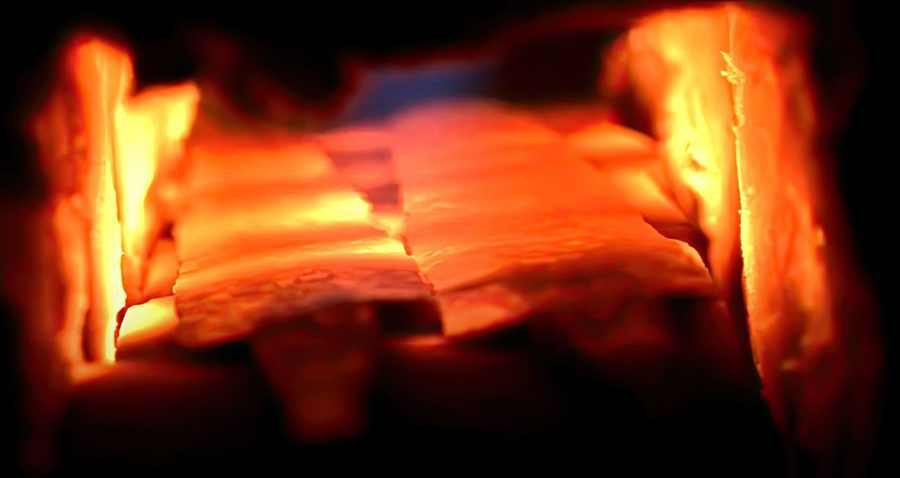
The most important part of the sword-making art is heat treatment as this stage determines if the sword is functional. Heated at high temperatures until the blade appears bright orange, the blacksmith will then test the blade. Once it becomes non-magnetic, it has reached the critical heat treating point.
Quenching
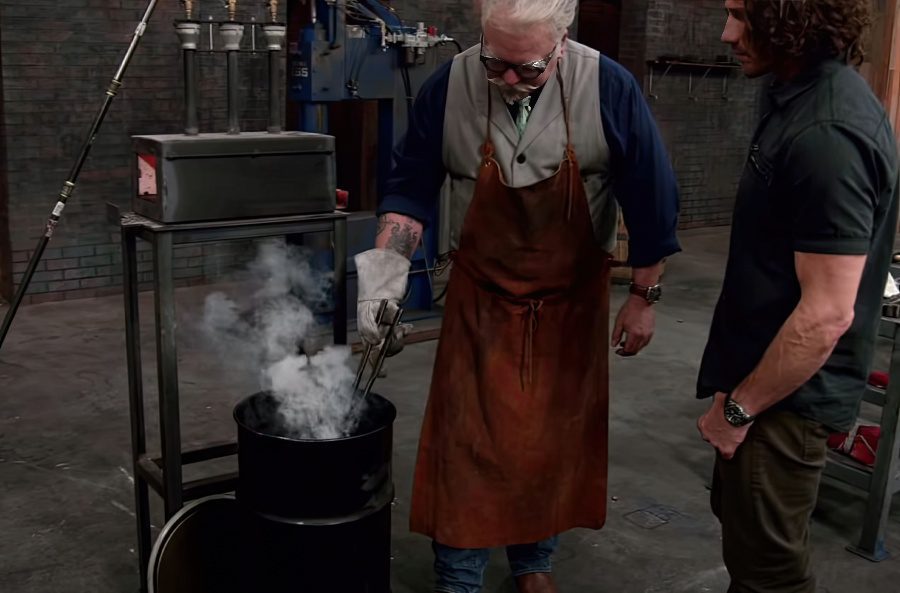
After the heating process, the blade is quenched in cold or warm oil. This is a process where the carbon molecules are locked into a tight network, giving the blade the strength and elasticity that it needs.
Both the blade and oil needs to be heated evenly as too much heat in one area can quickly result in a crack. Oftentimes, high-quality steel swords can be damaged in the quenching process. Following traditional methods, Japanese swords such as the Katana, obtain their distinct curve during the quenching process.
Tempering
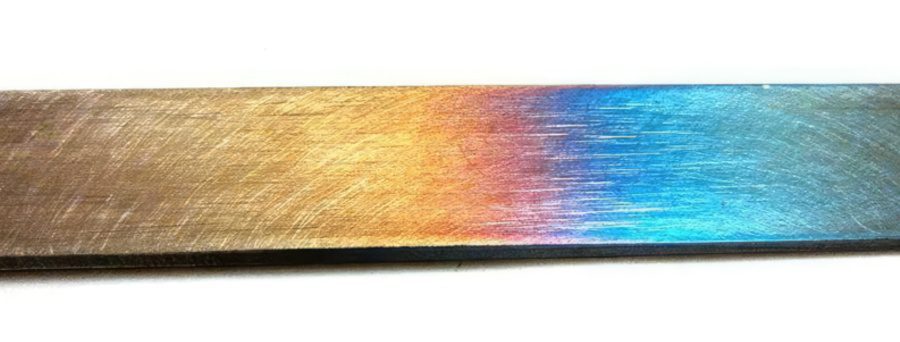
Shortly after the quenching process, the blade is cooled gradually to room temperature and slowly reheated repeatedly to the precise temperature. This achieves the balance, ensuring that the blade is hard enough, yet remains flexible without being brittle.
For example, a low tempering temperature relieves the internal stress of the blade giving it hardness, while higher tempering temperatures gives the blade elasticity. This differs for various types of steel used.
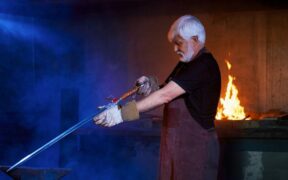
7. Final Polishing
At this stage, the sword should be functional and ready to use. Since it might look rough around the edges, a final polishing is needed. A blacksmith can use a variety of tools in this step, but the main aim is a strong abrasive material that can be used to sand and polish the blade.
8. Other Parts
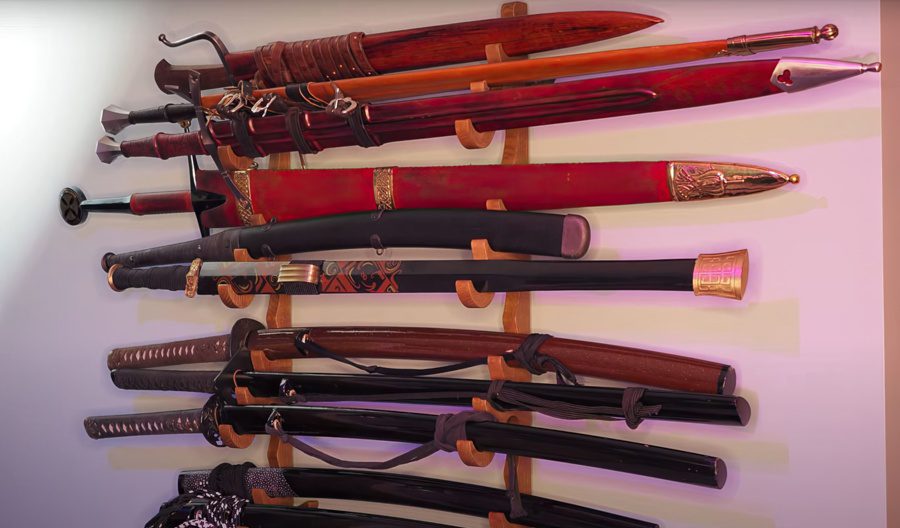
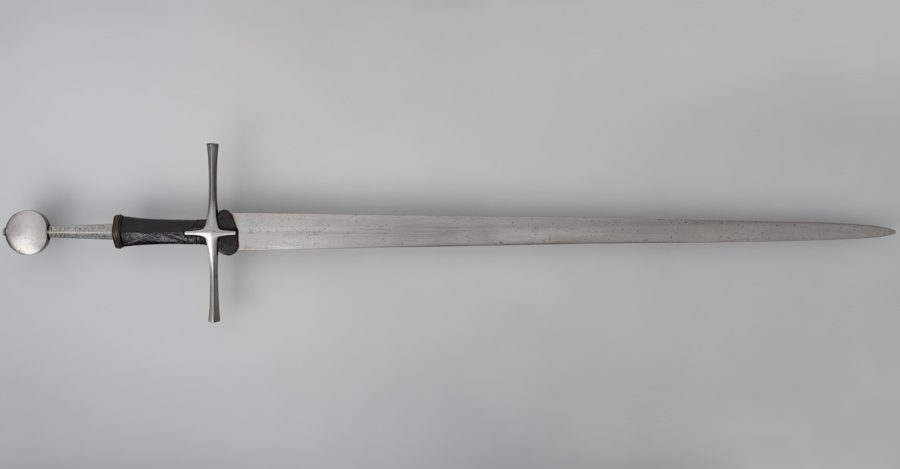
Although the blade might be the core of the sword, it will be rendered useless without a proper handle, a strong and sturdy pommel to balance it, a guard to protect its wielder, and a scabbard to store the blade.
Guard
The guard is the top metal part of the hilt that usually extends horizontally. It can come in a variety of shapes including round, square, closed, clam shape, basket, S-shape, and many more. Constructed from high-carbon steel or iron, it protects the user’s hand.
After the guard is made, it is then shaped and polished to achieve a finished look that complements the sword it will be mounted on. Various crafting techniques, such as engraving, welding, or casting, can be employed to achieve this look. The guard is then fitted to the blade’s tang through a pre-made central hole and secured tightly between the blade and the handle beneath it.
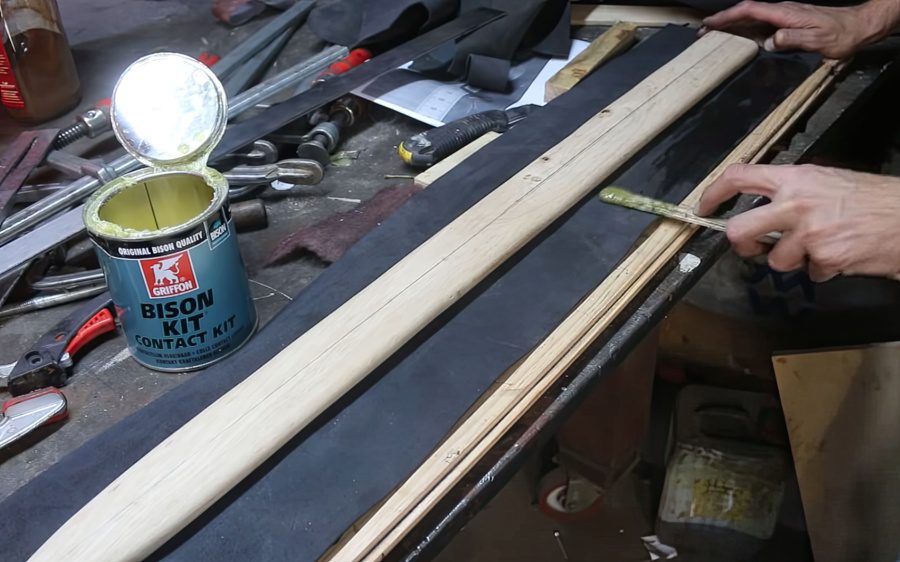
Handle
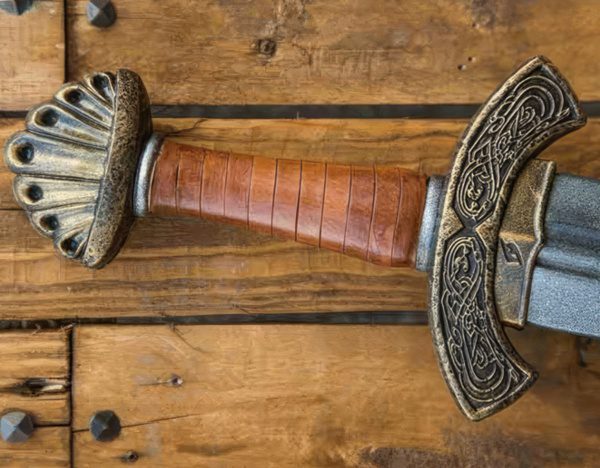
The handle of a sword is typically crafted from wood, such as oak, ash, yew, or ebony, and is individually shaped to suit the sword’s style or the wielder’s preference. This wooden handle is held together by the guard above it, as well as a metal or brass ferrule (a metal piece located under the guard).
In order to make the handle more comfortable, a covering material is either glued or stitched onto the wooden core. This can be leather, cord, wire, and silk. In some cases, ridges or small bumps are added for decoration as well as to give the handle a better grip and prevent it from slipping.
Pommel
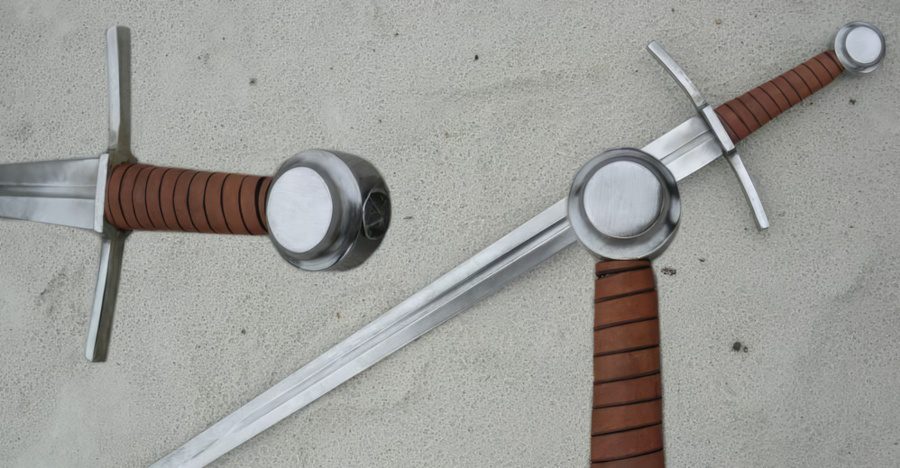
The final component of a sword is the pommel, a metal cap that is added to the end of the tang. It serves as a counterweight to the blade, as well as a stopper for the back hand, and a decorative element. Typically, it is made out of iron, steel, brass, or copper.
The pommel begins with a rough shape which is then refined through polishing, filing, and grinding. For many blades, the pommel is a large decorative piece mounted onto the tang that features many carvings, inlaid decorations, and other embellishments.
Scabbard
The scabbard serves as a protective cover for the sword and is often crafted to match the blade’s dimensions for easy sheathing and unsheathing. The creation of a scabbard requires meticulous craftsmanship, as it also serves as a decorative piece for the sword.
Although typically made out of wood, some are fashioned from leather or metal, depending on the sword’s cultural background. The scabbard consists of two halves that are joined together with a waxed and sanded entrance and opening on the inside. It can be adorned with various fittings, covers such as wax, fur, and leather, as well as inscriptions and other decorative elements.
9. Assembly
The assembly of hilt components is a crucial stage in sword construction. First, the guard is placed over the blade’s tang, followed by the grip, and pommel, providing the sword with both rigidity and balance.
In the case of a peened assembly, the tang’s end is heated until it becomes malleable, then hammered (peened) over the pommel to secure it together. This method creates a permanent and solid construction.
Alternatively, a threaded tang and pommel can be used, where the end of the tang is threaded and the pommel is screwed onto it. A nut or end-cap is then tightened onto the threaded tang. This method allows for the disassembly and reassembly of the sword, which can be beneficial for maintenance or repair.