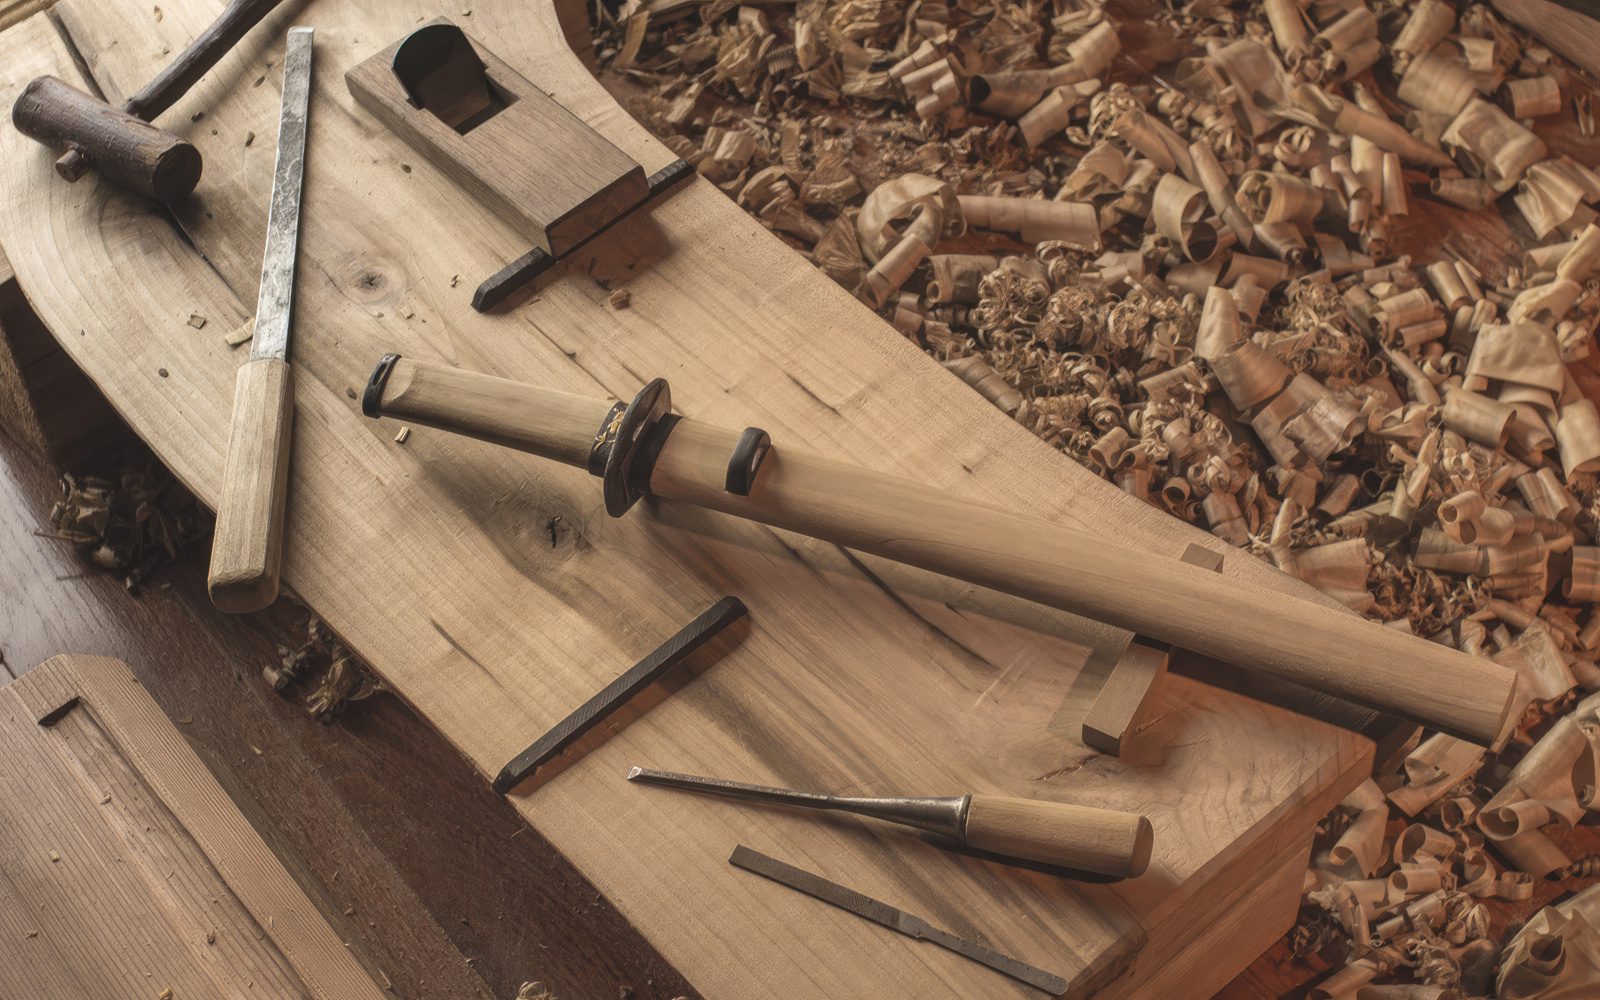
Traditional Craftsmanship of Saya Making in 12 Steps
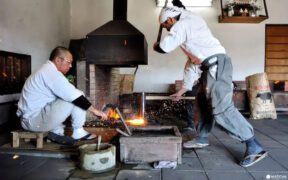
The making of a Japanese scabbard, or saya, is a highly specialized craft created by skilled artisans known as sayashi. When new Japanese blades are made, they are often mounted in a plain wooden scabbard called shirasaya. If the owner wants the blade to be mounted in a koshirae, they must commission a group of associated artisans after the completion of the swordsmith’s work.
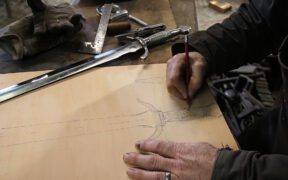
1. Kidori: Cutting the Blank
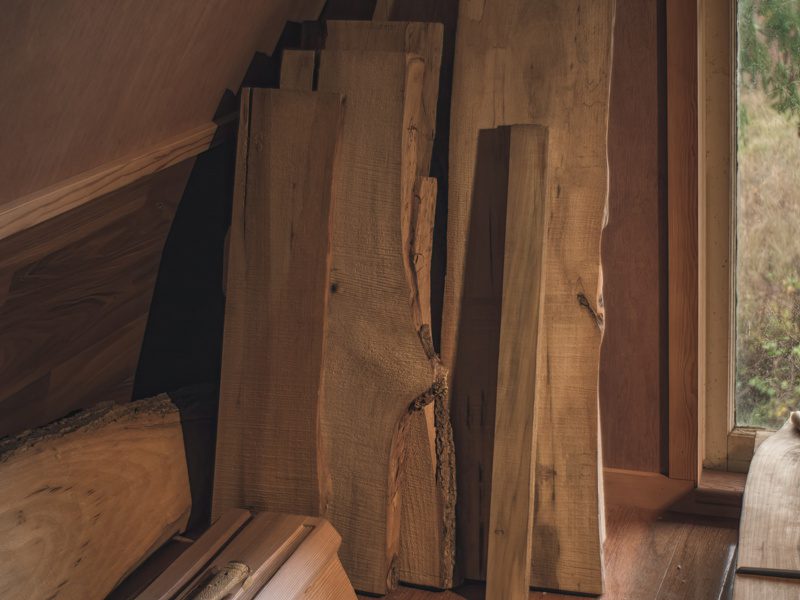
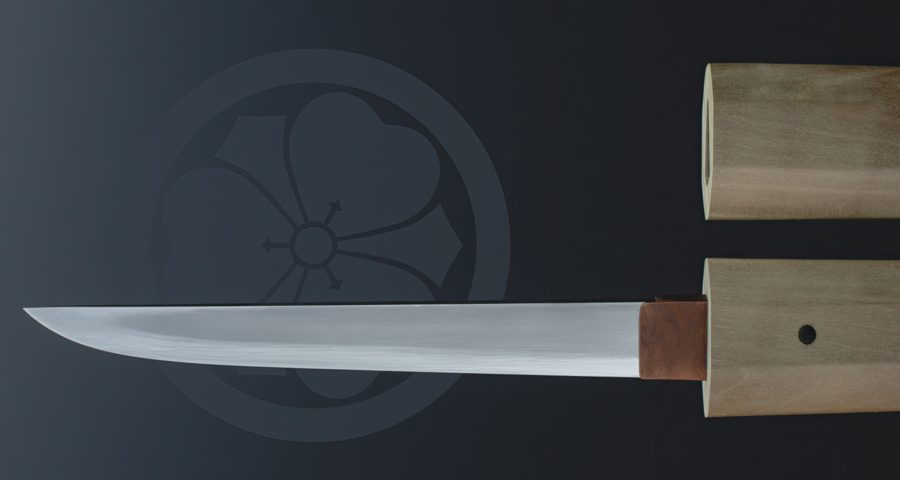
Generally, a saya can be constructed once the habaki (blade collar) on the sword is fitted. A scabbard maker selects a well-seasoned piece of ho wood, a soft hardwood in the magnolia family. It is then examined for its color, quality, and thickness. The specific requirements may vary depending on the sword. When making a scabbard, wooden blocks with irregular, knotty, or gnarled surfaces are avoided.
The outline of the blade is first marked on the wood, considering its proper length, width, and curvature. Then, the wood is cut into a rough, oblong-shaped. When a blade has a large curvature, it is possible to cut a wedge-shaped portion from the blank to bend the grain where the hilt and scabbard meet.
2. Nakadoshi: Splitting the Blank
Generally, saya makers do not construct the scabbard using two separate pieces of wood. Instead, they begin with an oblong-shaped scabbard blank. They then draw a line along the center to guide the cutting and cut the blank into two even halves.
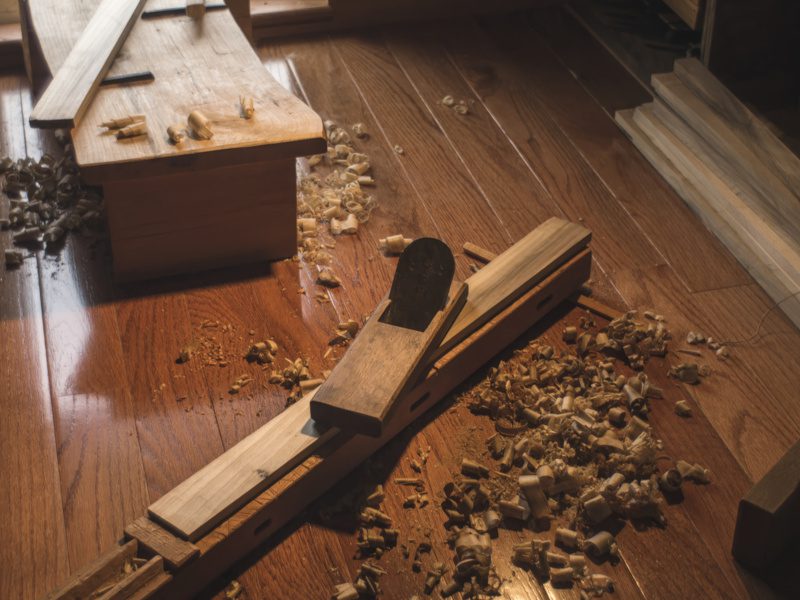
3. Mentori: Rough Planing the Exterior
Next, the saya maker uses a large wood plane (kanna) to round off the outside of each half of the scabbard blank. Then, a saw is used to remove the sections of the scabbard halves that will become the hilt.
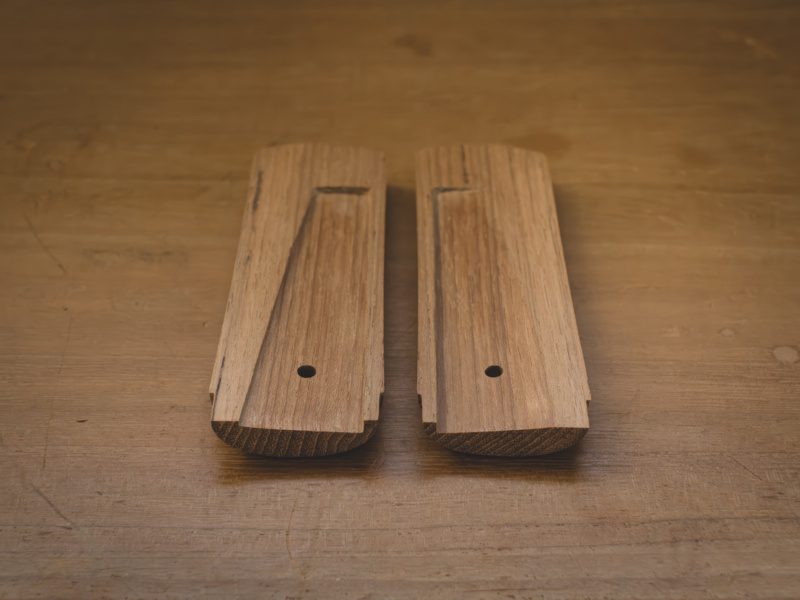
4. Kezuri-awase: Planing the Inner Surface
Like the previous step, the saya maker uses a plane to ensure that the inner surfaces of the scabbard halves are perfectly flat and smooth, ensuring that both halves are later securely bonded without any gaps or separations along the seam. Then, the shape of the sword blade is outlined on the inside surfaces before the kaki-ire.
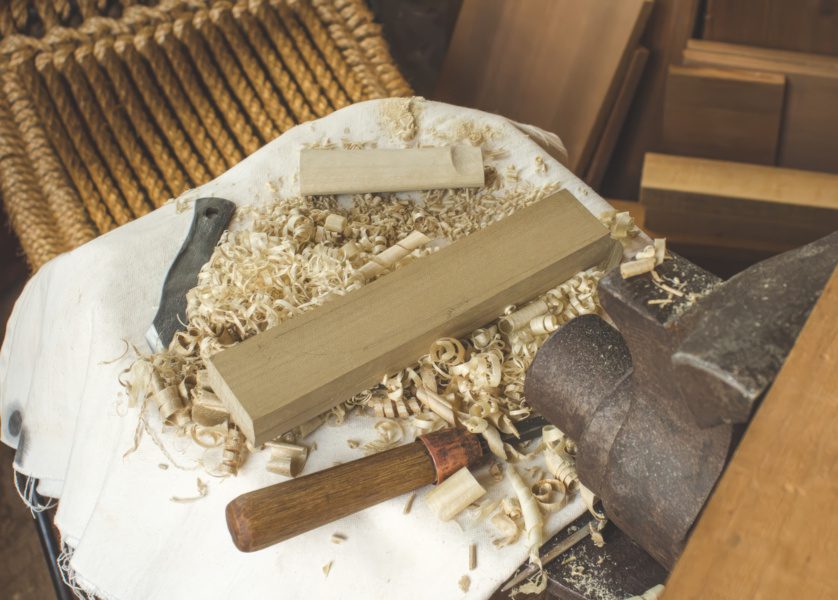
5. Kaki-ire: Carving the Saya’s Interior
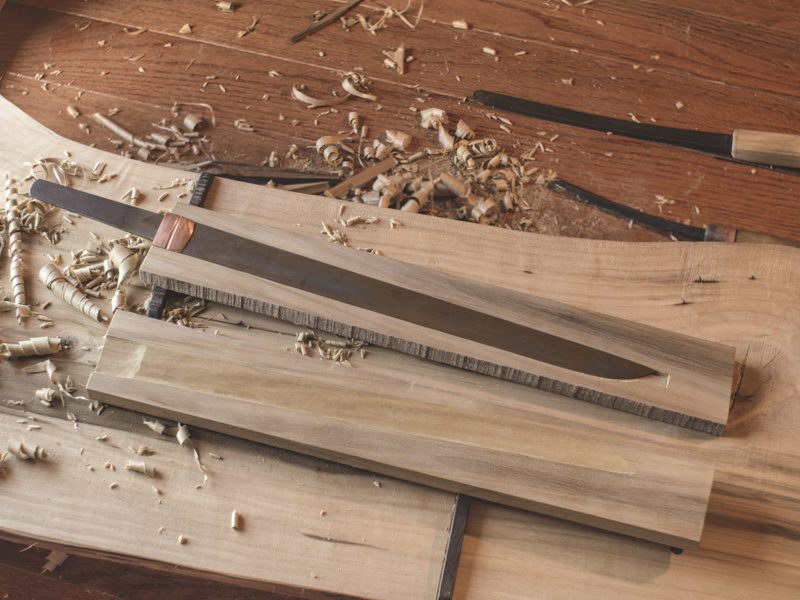
During kaki-ire, the sayashi carves the inner surface to fit the blade using various chisels (nomi) and knives (kiridashi). Unlike other Japanese woodwork, sandpaper is never used in saya making as it would destroy the luster of the wood and possibly leave behind grit or debris that could scratch the blade.
Ideally, the carved-out section on one half features a shallow lip to accommodate the edge of the blade. The other half should have a gradually tapering and flat hollowed-out area to prevent the blade from resting on the glued seam of the scabbard once the two halves are bonded.
A similar procedure applies to both halves of the hilt to accommodate the blade’s tang of the blade. Then, the mouth of the scabbard is carved out to fit the habaki (blade collar) snugly.
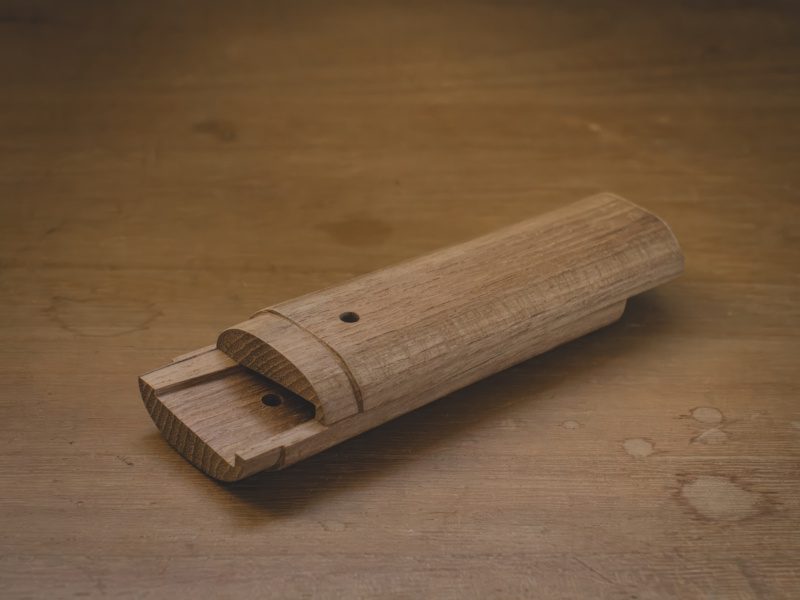
6. Norizuke: Gluing the Two Halves of the Saya

To bond the scabbard halves, saya makers use rice glue, also known as sokui. Made from a mixture of water and day-old cooked rice, it is chosen for the following properties:
- It is strong and holds two halves of the scabbard together very well.
- Since it does not draw moisture, it prevents the blade from rusting.
- Sokui is non-acidic and will not degrade the wood or steel over time
- Unlike most synthetic wood glues, the sokui allows the saya to be disassembled for interior cleaning or repair without damaging the wood.
After gluing the scabbard halves, a long binding cord is tied around the saya to hold it in place overnight until the glue is dry. The same process is repeated for both hilt halves.
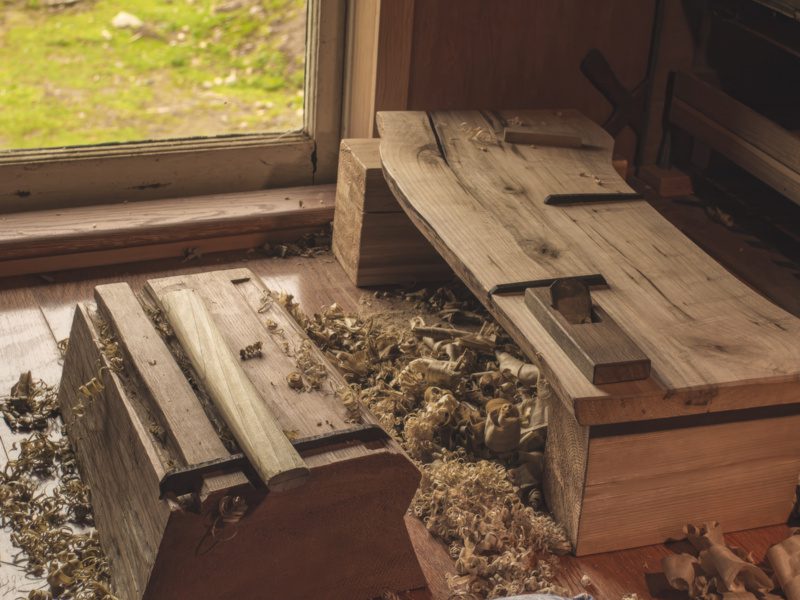
7. Arakezuri: Rough Planing the Cut Surface
After the glue has set, the outside surface of the scabbard is shaped using a plane. This step defining the final shape of the saya may vary from oval to beveled, with some featuring surfaces with sharp ridges.
One of the most popular scabbard styles today is an octagonal cross-section. Additionally, an older, thin blade tends to have a slenderer scabbard than one of a modern blade. More often, the blade’s curvature matches the grain of the wood.
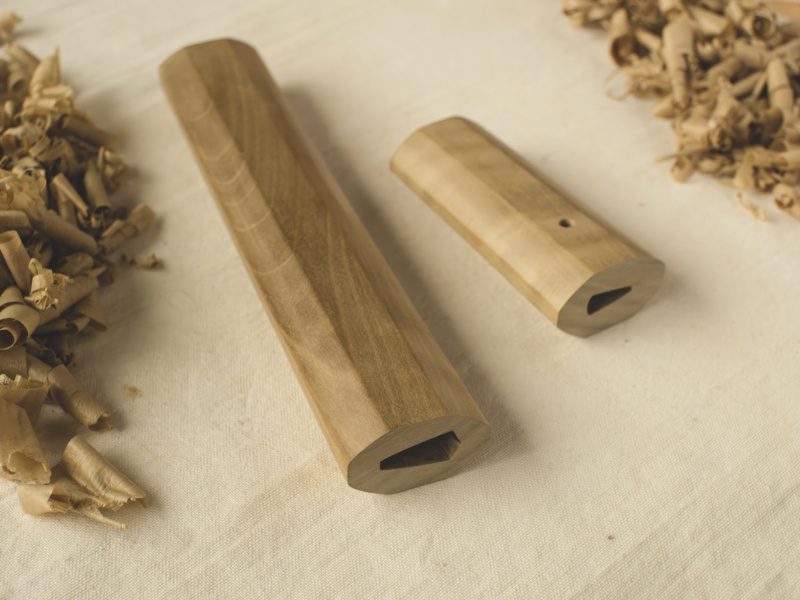
8. Nakakezuri: Fine Planing the Outside
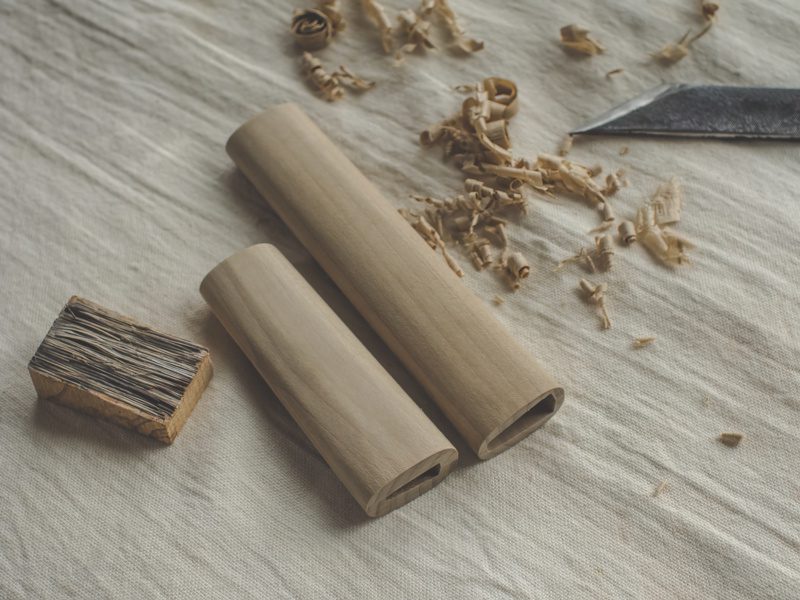
As the work proceeds, saya makers use increasingly smaller and finer planes to smooth the surfaces, including those of the saya’s opening and hilt. The top is also smoothed so the scabbard and hilt lay flat when put together.
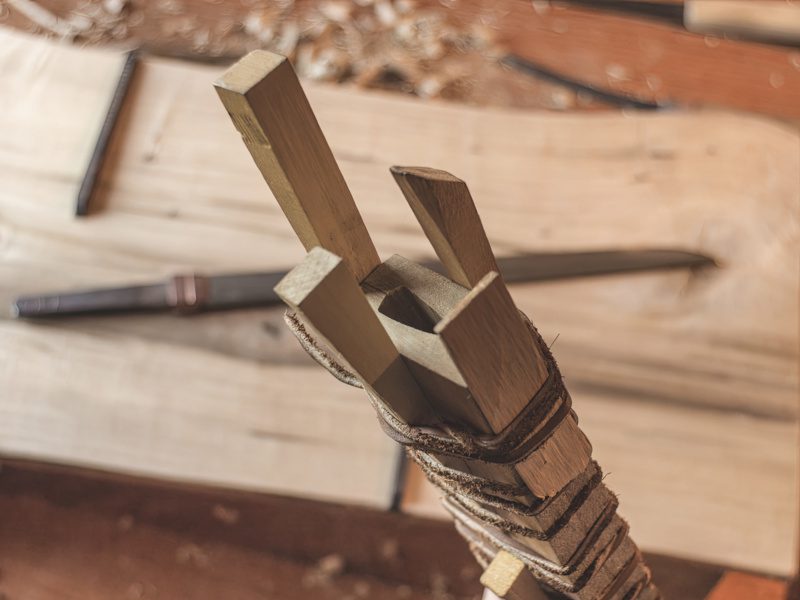
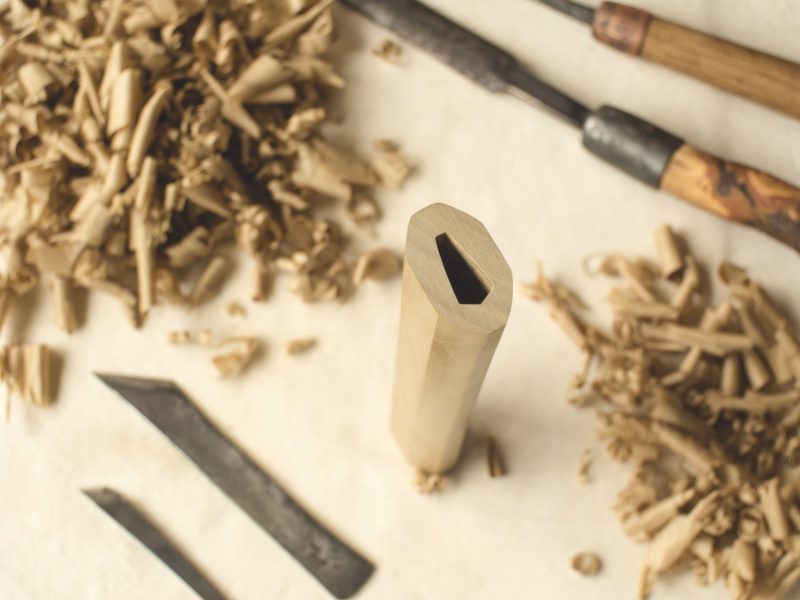
9. Mekugi-ana-ake: Drilling the Rivet Hole
The scabbard maker looks for a hole in the tang which has been previously drilled by the swordsmith. This is an indication where the hole in the hilt should be. The sayashi then drills a rivet hole (mekugi-ana) into the wooden hilt and inserts a bamboo rivet (mekugi) to secure the tang of the blade to the hilt, sealing both hilt halves together.
10. Shiagekezuri: Finish Planing
Saya makers use very small planes, about an inch or so wide to give the surfaces of the scabbard a fine finish. They also use knives to bevel the scabbard edges at the top and bottom. This step improves the scabbard’s appearance and makes it more comfortable to grip.
11. Fukurohari: Wrapping the Saya in Paper
During transportation, the saya is wrapped in a durable paper covering known as nishi no uchi for protection. This paper wrapping should match the contours of the saya and can be easily removed by lifting it, similar to a slipcover.
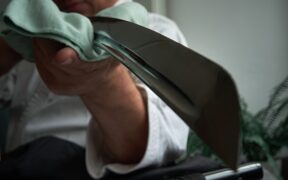
12. Shiagemigaki: Finish Polishing
After removing the paper wrapping, the wooden surfaces of the saya are given a final polish. Saya makers use an abrasive called horsetail reed (tokusa) on a sanding block, much milder than even the finest grade of sandpaper.Then, a light coating of ibota (insect-derived powder) is applied on surfaces to give the wood a glossy, polished, and finished appearance, as if it had been waxed. After the final polishing, the scabbard is slipped back into its paper wrapping to send to the swordsmith, polisher, or to be delivered to its owner.