How To Take Apart a Katana in Five Easy Steps
The katana is a Japanese sword that can be disassembled to properly clean, study, or determine its authenticity. When owning a katana, knowing how to take it apart is crucial for many reasons. This ancient tradition of disassembling goes back generations and is held with utmost reverence in Japanese sword artistry.
This article will present the necessary things about taking apart a katana. We will start with reasons why you may want to disassemble the weapon and provide the five crucial steps you will need to take. We will conclude with some helpful tips to use as you go along.
Why Dissasemble the Katana?
Like many other swords worldwide, the katana will need to be occasionally disassembled. This is done for several reasons, from cleaning to transporting and avoiding potential scratching. Here are some important reasons why you would want to disassemble your katana:
- Maintenance and cleaning – even parts not usually exposed can rust and accumulate dust and other residue, which require a thorough and deep cleaning of the koshirae fittings
- Inspection and education – fulling inspect for any type of damage before purchase or to simply study the different parts of your katana
- Replacement or customization – certain parts will need replacement after prolonged use, such as the tsuka–ito wrap, habaki collar, or other fittings that require disassembly
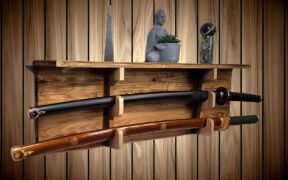
- Preservation – for better long-term storage of the katana parts and to avoid potential damage to its fittings, the katana should be taken apart with its blade placed in a safe shirasaya scabbard with its mountings individually separated
- Authentication – collectors of authentic or antique nihonto Japanese katanas will need to read the mei inscription on the blade’s tang
- Transportation – transporting a katana is easier when it is separated from its mountings
The katana can be taken apart often without issue if the proper technique, care, and direct instructions are followed. If one isn’t confident in disassembling the weapon, the sword’s fittings and integrity can be damaged.
Taking a Katana Apart – Step-By-Step Process
The katana is a sword with unique sets of fittings and mountings that are held together by themselves, meaning that this Japanese sword isn’t welded or screwed together. Instead, the katana is fit together piece by piece. The removal of each part will lead to the removal of another until the weapon is completely dismantled. It is flexible and easily disassembled to be properly honed, cleaned, and appreciated.
Before breaking down the katana, establish whether or not you are working with a sharpened blade, as you will need to proceed with patience and caution. Even a veteran and experienced Japanese togishi𑁋an authentic katana blade polisher with more than five years of experience𑁋 can be injured when not paying heed to this process.
A battle-ready katana is not a toy; safety should always come first.
Step One – Japanese Maintenance Tools
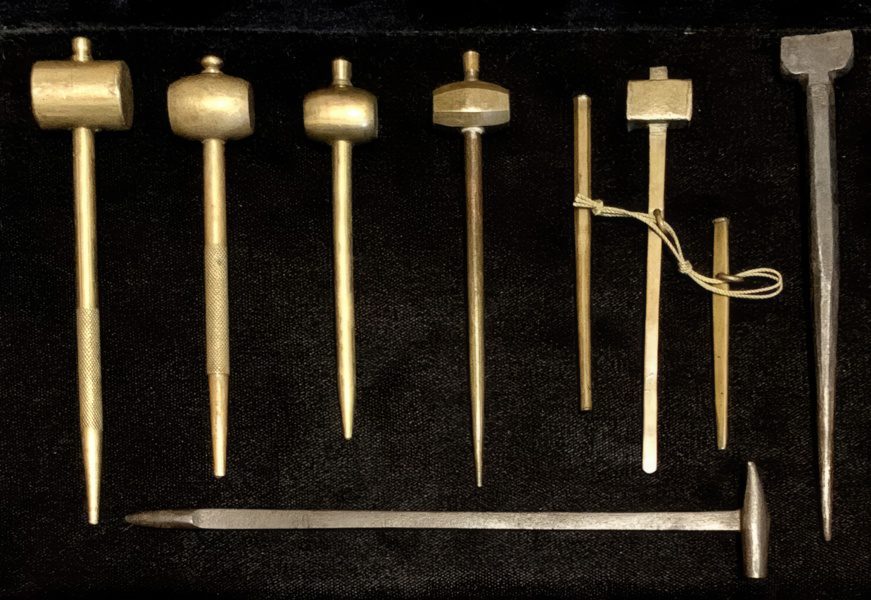
Obtaining traditional maintenance tools for Japanese swords is key before dismantling the katana. Several are available on the market, and they must come with a mekugi nuki, the small peg removal tool also called a punch.
The traditional Japanese sword maintenance kit should also come with a small hammer, but any smaller mallet would suffice. Usually, the smaller peg is screwed on top of the hammer. These tools should come in brass or wood, as steel could damage the katana fittings or blade.
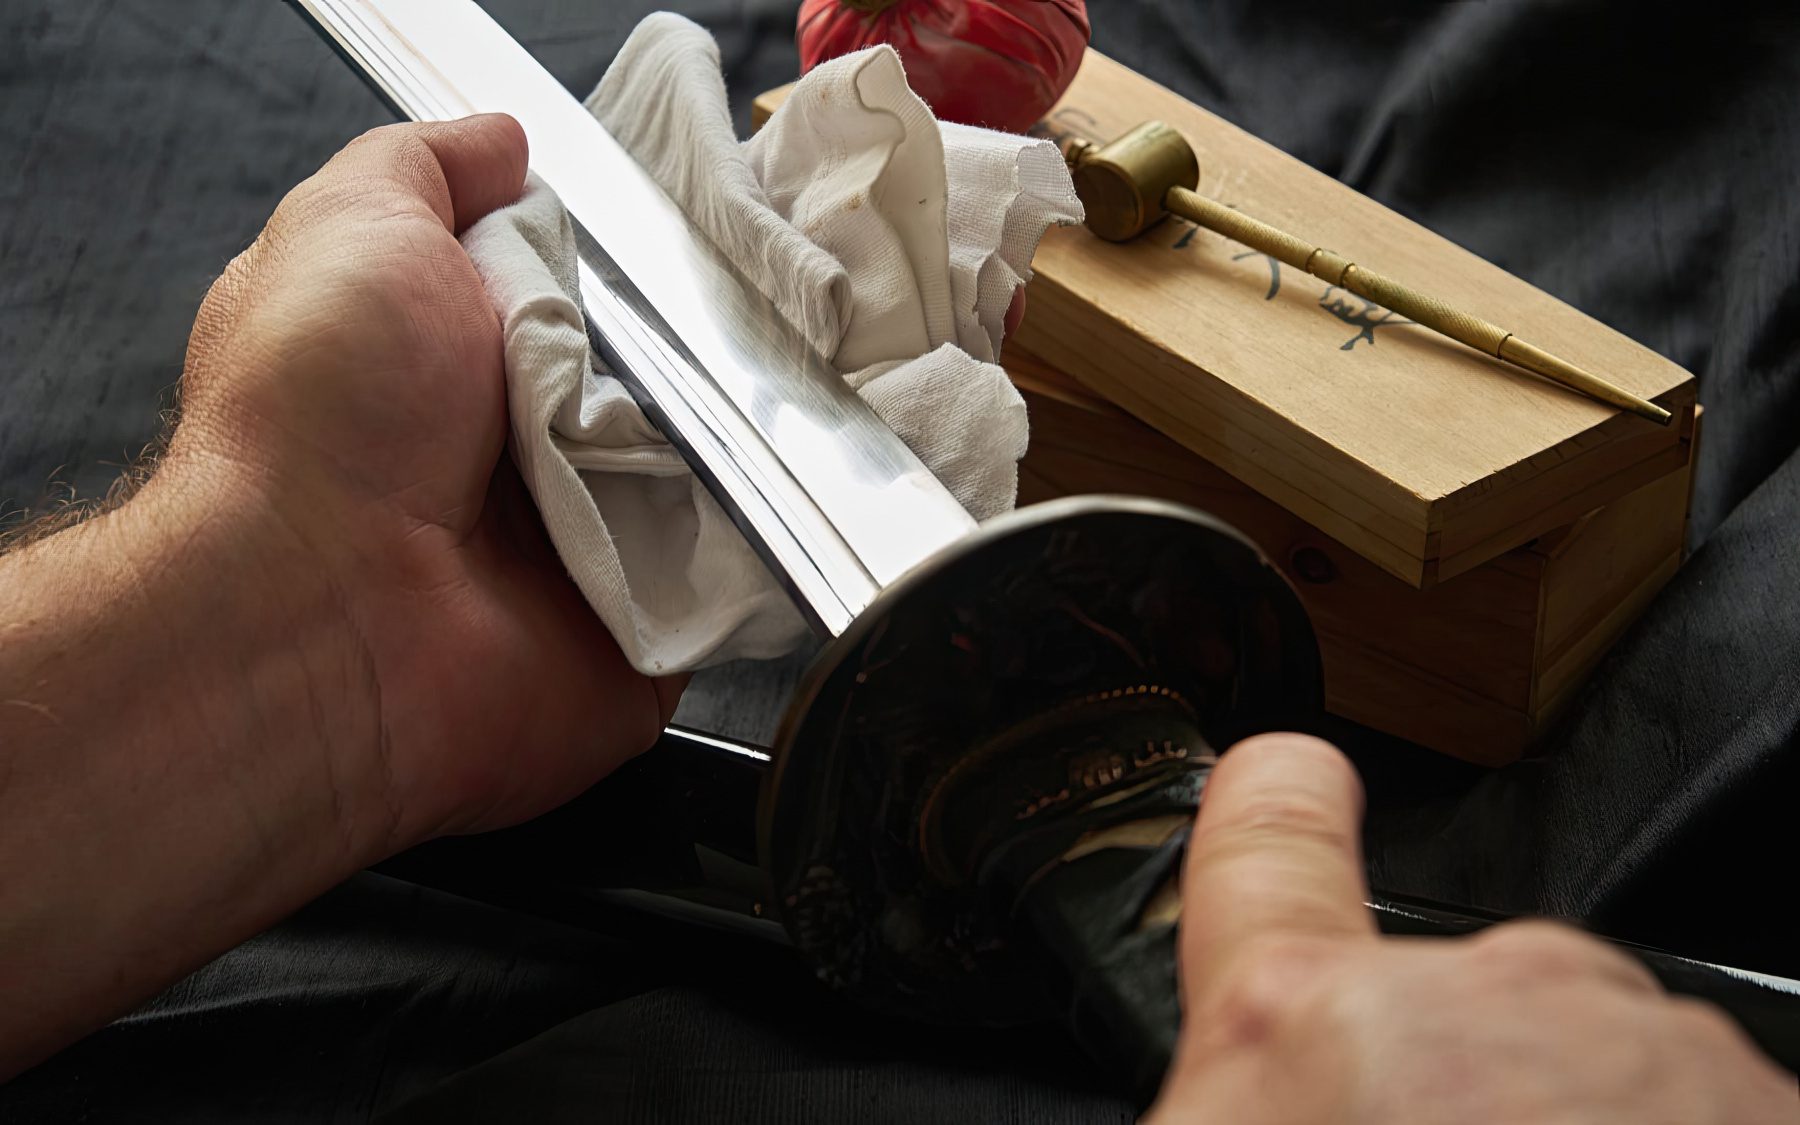
A cloth or glove is recommended when removing the blade from its handle so it won’t come in contact with one’s skin.
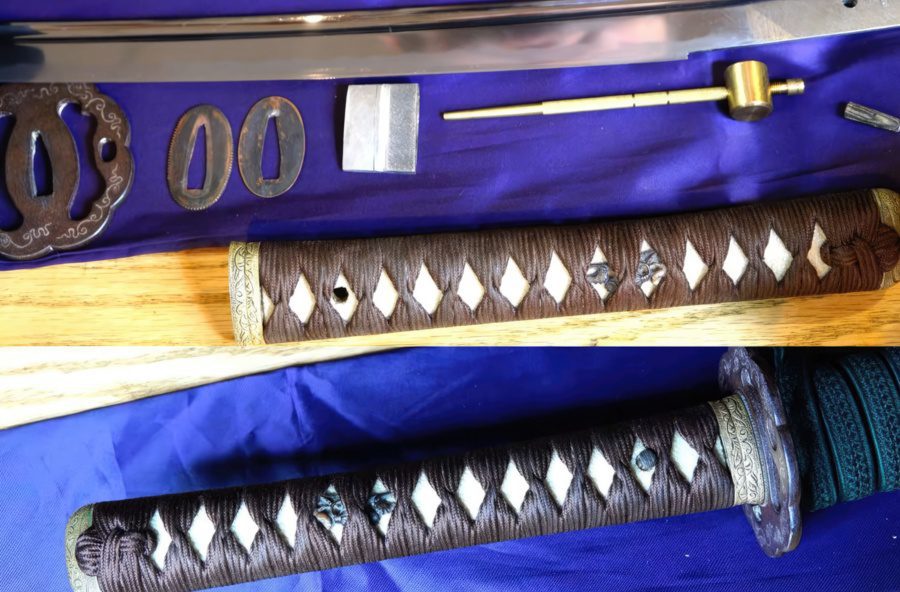
Step Two – Mekugi Pins
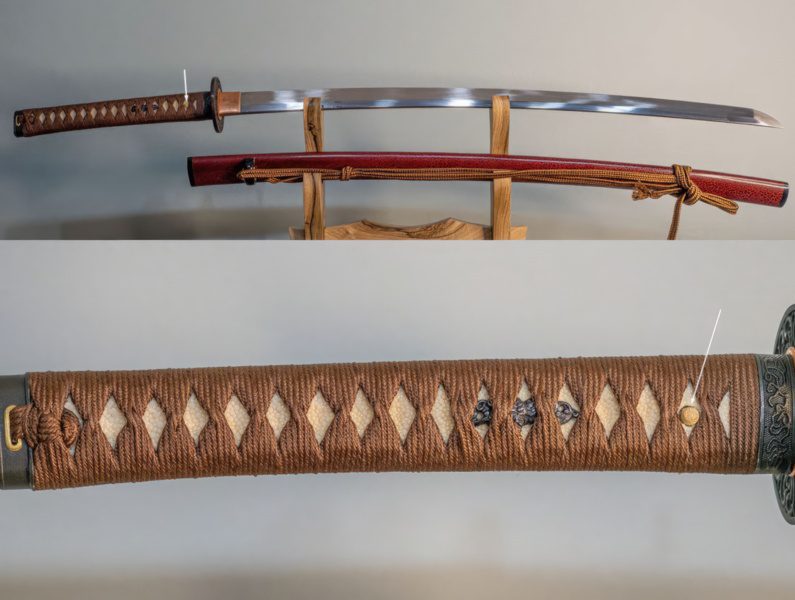
The tsuka katana handle will have one to two mekugi pins on it. They can easily be seen and are located in a central line of the handle, usually about ⅓ or 1/4 from the tsuba guard and the kashira pommel on the bottom. These pins are usually on the samegawa ray skin next to the tsuka ito wrap and come in a different color so that they can be seen easily.
Rounded in aesthetic, they resemble a screw with a flat surface. The mekugi pin can be straight in design, with one side slightly bigger than the other. It is also denser and can feature a darker color, so the handle should be turned around and the mekugi pin properly inspected.
Step Three – Removing the Mekugi Pin

Once the mekugi pin has been found and the bigger side determined, it can now be removed. The smaller mekugi nuki is placed on top of the mekugi pin. With some force and pressure, the mekugi should come out easily. If that is not the case, the hammer can be used to lightly tap the top until it comes out the other end. The force needed differs from sword to sword, but having the katana handle in a horizontal position is helpful.
Some mekugi pins will be harder to take out and require more force. It is important not to use too much clout when tapping the mekugi. They are susceptible to damage because they are made from bronze, wood, bamboo, or horn. Light repeated strikes are ideal for each mekugi peg on the sword.
Step Four – Removing the Tsuka
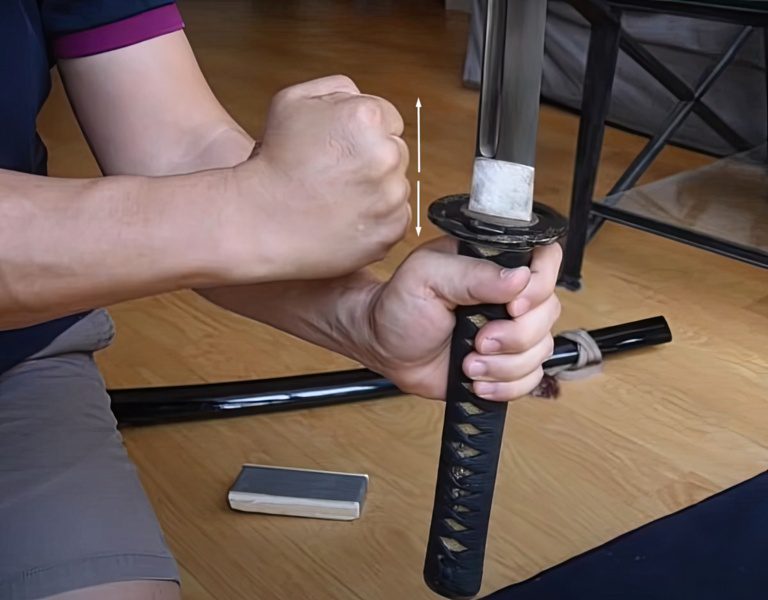
Once the mekugi peg is outside its mekugi–ana𑁋the hole for the pin𑁋the blade can be removed from its handle. To do this, the katana is held vertically with its kissaki blade tip pointed up. It is important to have the edge of the katana facing your opposite. The dominant hand is placed underneath the tsuba guard, and the other is placed on top of the dominant wrist.
With a fist or an open palm, strike the dominant hand holding the katana handle with gentle, repeated force. With each impact, the blade tang should slowly come out of its handle. Some katana swords may only take one powerful strike of the arm, while others might need several.
A clicking sound should be heard from the tsuba guard. With each hit, the clicking sound should get louder, with the last being the loudest as the tsuba handguard gradually emerges from its position.
Step Five – Removing the Fittings
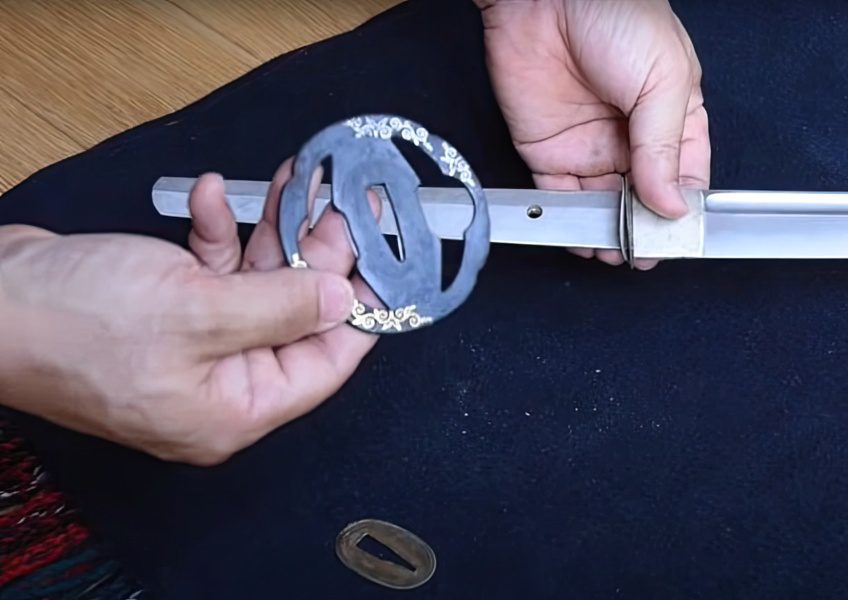
Once the blade tang is loosened from the handle, the fittings and mountings can be removed individually. Place the katana down horizontally, as smaller parts can become damaged.
Pull down on the tsuka handle with its wrap around it and draw it down and outside the blade nakago tang, continuing with the lower seppa spacer between the handle and the guard. Next, remove the handguard and pull it down alongside the top seppa spacer. At the last fitting, remove the habaki blade collar. You will now have each individual fitting and the separated blade.
Reassembly
After successfully dismantling the katana for your intentions, you will need to reassemble it. Follow the same pattern of fittings as you took them out. Place the habaki collar first and then the top seppa spacer. The large tsuba handguard should follow with another seppa beneath it. When these are complete, mount the entire tsuka handle on the blade tang.
Make sure to place the appropriate fittings in their exact positions, such as the top seppa being on top and not on the bottom. Push the kashira pommel with your palm until all the fittings are perfectly placed.
Place the katana horizontally with each of its fittings and carefully place the mekugi pins inside the openings as you initially removed them. You can use the smaller hammer to pin them inside until they fit perfectly.
Helpful Tips
While taking a katana apart might seem simple, not every katana will be the same, and some can be more challenging. Here are a few helpful tips that will help you to dismantle a katana successfully:
- Moisture – make sure your hands are completely dry, as even small amounts of moisture from any source can lead to corrosion underneath the fittings
- Glued – if you have trouble removing the mekugi pin from its hole, contact the manufacturer to find out if it may have been glued in
- Can’t find the mekugi – if the mekugi isn’t visible on the handle, try moving the tsuka–ito wrap to the side and searching underneath it. You can also look under any metal decorations on the menuki
- Mekugi doesn’t come out – sometimes the mekugi pin can be tapered to one end, and the larger side will need to be tapped for it to come out
- Tsuba doesn’t come out – some katanas can have their handles firmly stuck inside on the blade tang. In this case, pushing the tsuba guard up with a finger and lightly tapping it with a hammer against a wooden block near the tsuba should help remove it
- Saya safety – when taking out the blade from its handle, have the saya scabbard mounted on the blade to prevent injury
- Loose sounds – all fittings should be tight and free from clanking noises. If you do hear anything, it likely means they are loose and need to be tightened and reassembled